Did you know that 53% of mobile users abandon a site if it takes longer than 3 seconds to load? 🚀
As a dropshipping store owner myself, I’ve learned the hard way: speed isn’t just a technical metric it’s your silent salesperson.
Slow-loading product pages can torpedo conversions, frustrate customers, and even hurt your Google rankings.
But don’t panic!
In 2025, optimizing your store’s speed is simpler than ever.
Let’s dive into 9 proven strategies (no coding wizardry required!) to turn your sluggish site into a lightning-fast sales machine.
Why Loading Speed Is a Game-Changer for Dropshipping
A Story:
Let’s be real: I used to think website speed was just a “tech nerd” problem.
Most of dropshipping store’s sales tanked with no obvious reason.
Products were trendy, ads were slick, but the conversion rate?
Deader than my grandma’s dial-up internet.
Turns out, that these dropshipping stores take more than 5 seconds to load. Five.
Do the math of the percentage, most of snail-paced dropshipping stores was basically handing $100 bills to competitors.
The Google Slap You Didn’t See Coming
Here’s where I messed up: I ignored Google’s Core Web Vitals.
These are basically Google’s report card for your site’s user experience, grading stuff like:
How fast your page loads (LCP)?
How stable your layout is (CLS)?
And how the delay between a user interaction (INP)?
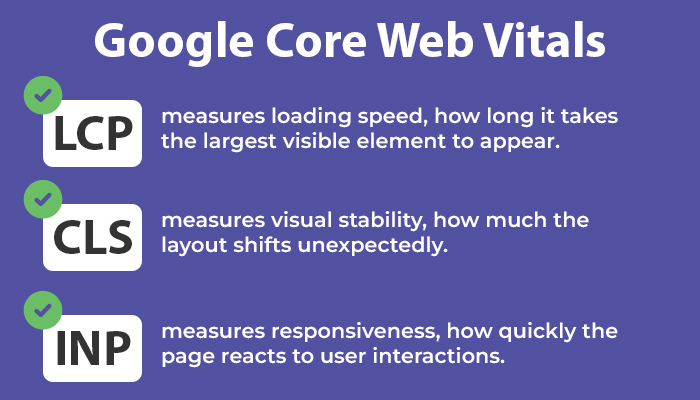
My site scored “poor” across the board, and my SEO rankings plummeted like a TikTok trend.
After tweaking my hosting plan and compressing images, my traffic crawled back up.
Lesson learned: Google doesn’t just care what’s on your site, it cares how it feels to use.
Mobile Users Aren’t Patient (And They’re 60% to 80% of Your Traffic)
Picture this: You’re shopping on your phone during a lunch break. A site takes 4 seconds to load.
You bail, right?
Same here. Over 60% to 80% of ecommerce traffic comes from mobile, but if the site was built for desktop first.
Big mistake.
Mobile-first indexing means Google judges your site based on its mobile version.
A slow dropshipping store can cause a loss of money because people are impatient.
If your dropshipping store is slow, prepare yourself to throw money down the sink.
Pro tip: Use tools like PageSpeed Insights or GTmetrix. If it’s clunky on a Samsung, fix it ASAP.
How I Fixed My Speed Issues (Without Coding Skills)

- Switched Hosting: Shared hosting was my budget BFF until traffic spiked. Upgrading to a managed host (SiteGround saved my sanity).
- Compressed Images: My product pics were 4MB each (why?!). Tools like ShortPixel shrunk them to 500KB without losing quality.
- Lazy Loading FTW: Now, images only load when you scroll to ’em. My homepage doesn’t gas out after 3 seconds anymore.
- Ditched Fancy Themes: That $89 “UltraShop” theme with 50 animations? Trashed it. Using Elementor plugin and Theme or Flatsome Woocommerce WordPress Theme now lean, mean, and boringly fast.
Audit your site monthly with PageSpeed Insights and optimize it continuously.
Final Takeaway
Speed isn’t a luxury it’s survival.
In dropshipping, where margins are thin and competition’s vicious, a slow site is like opening a taco truck… with a broken grill.
Fix your speed, and you’ll keep customers (and Google) from ghosting you.
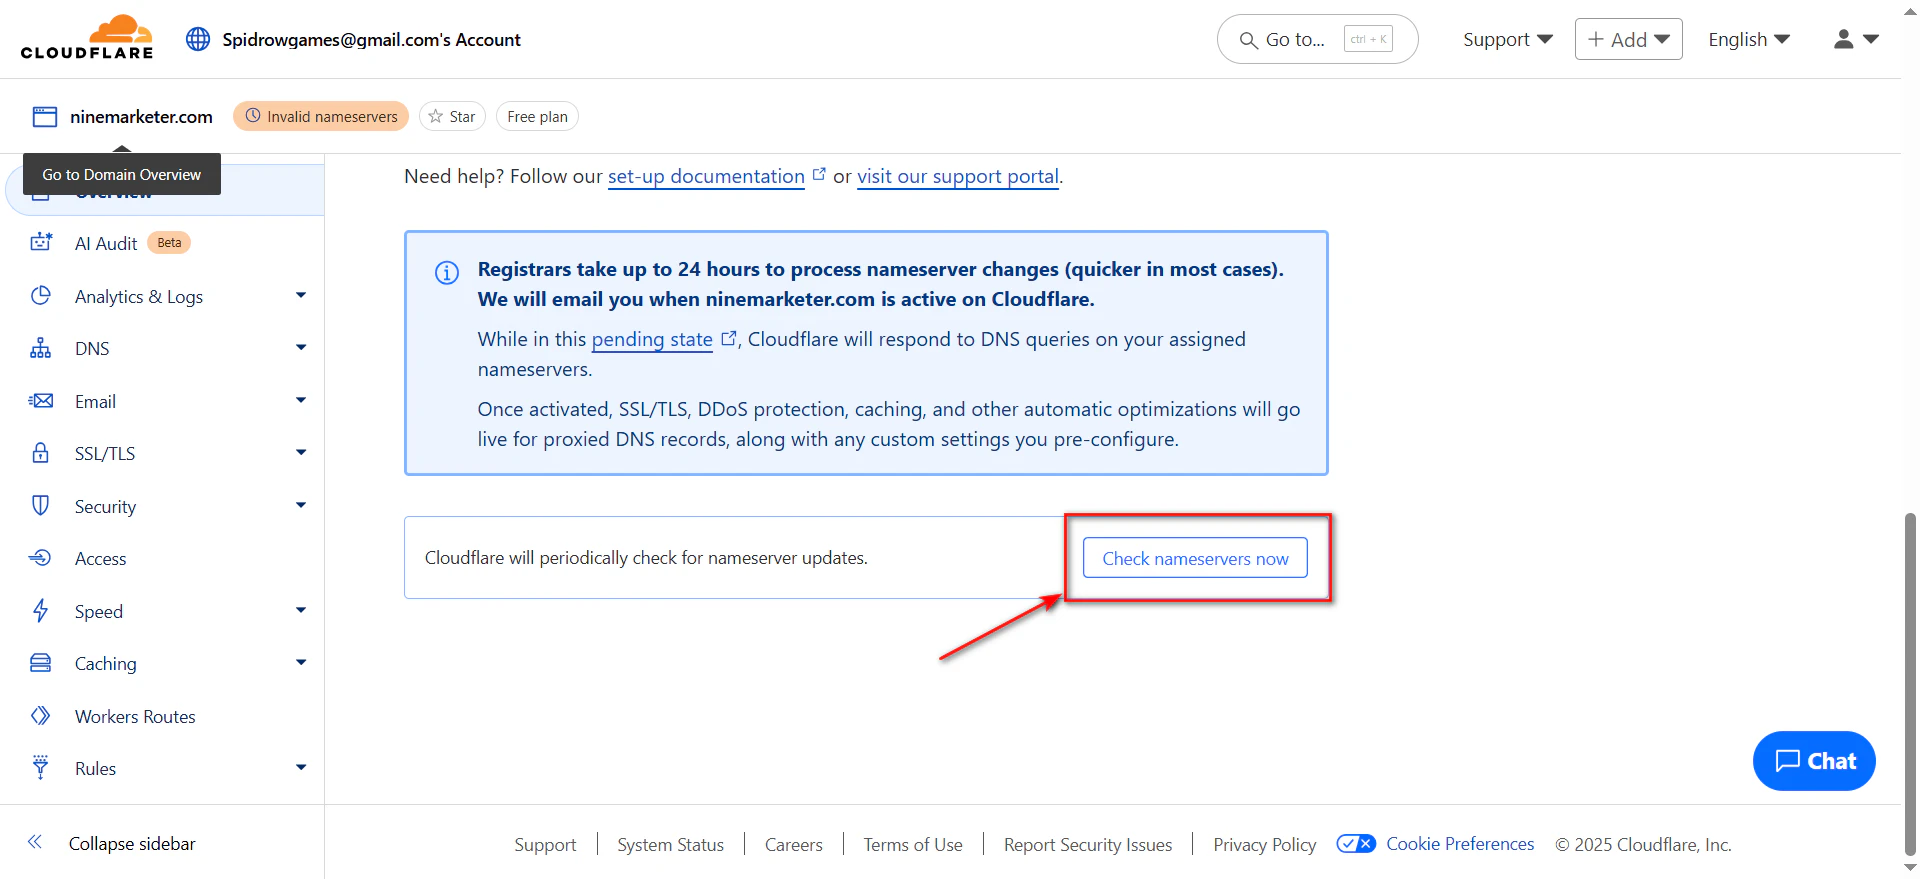
P.S. If you’re lazy like me, Cloudflare’s CDN is a 10-minute setup that can boost speed by 30%. Just sayin’.
9 Speed Hacks for Your Dropshipping Store
1. Optimize Product Images Without Sacrificing Quality
Alright, confession time:
I once uploaded a 10MB product photo to my dropshipping site because I thought “high resolution” meant “the bigger, the better.”
Spoiler: My product page loaded slower than a sloth on melatonin.
Customers bounced faster than I could say “free shipping.”
Turns out,
how you handle images can make or break your site’s speed and your sanity.
- The Tool That Saved My Life (And My Bandwidth)
I’ve tried every image compressor under the sun, but ShortPixel and TinyPNG are my ride-or-dies.
ShortPixel’s “glossy” compression mode? Magic.
It shrinks my PNGs by 70% without making them look like they’ve been through a potato filter.
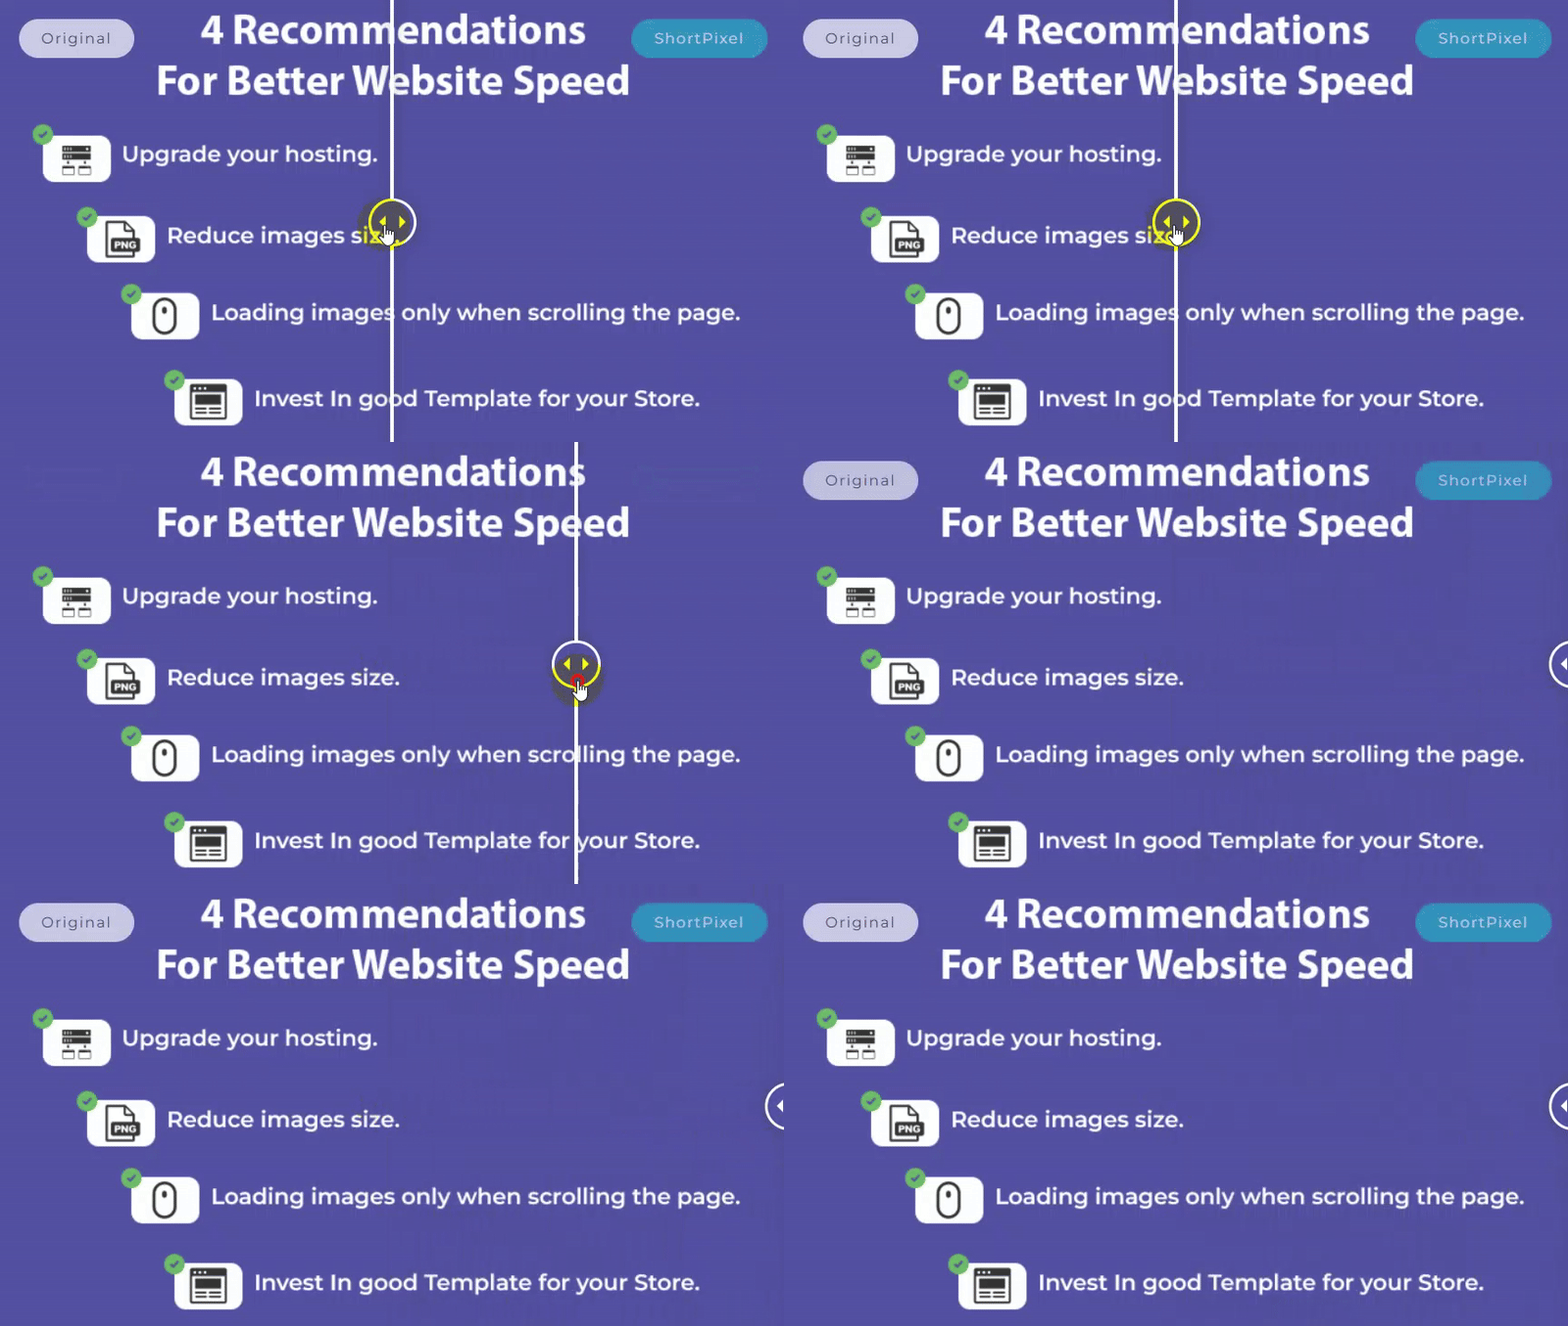

TinyPNG’s free plan? Perfect for us budget-conscious folks.
I batch-upload 20 product shots, let it work its voodoo, and boom file sizes drop from 18.3MB to 11MB.
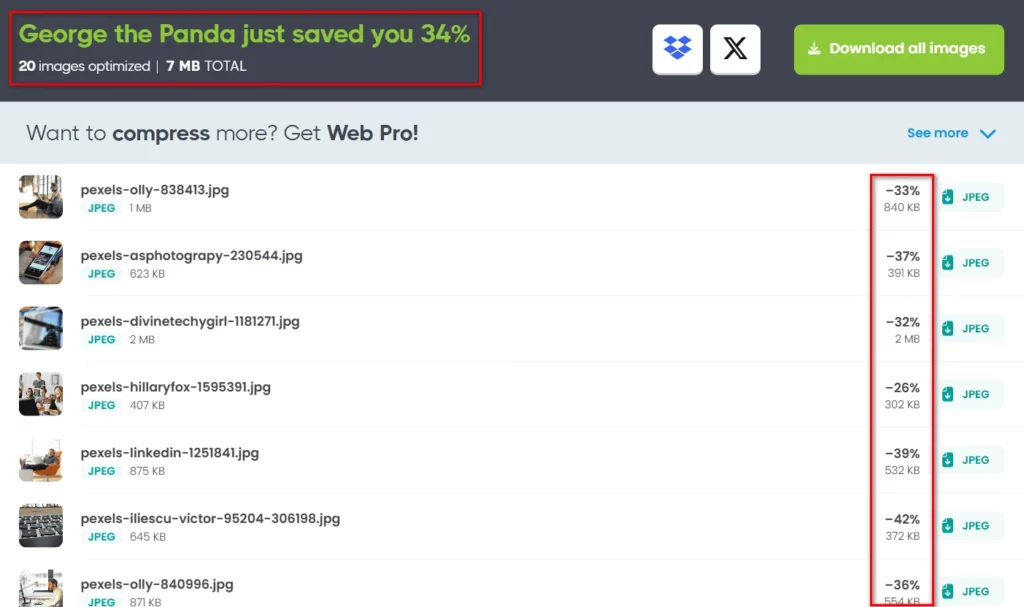
Pro tip: Always download the compressed and original files. Once accidentally overwrote my high-res images with compressed ones. Don’t be me.
- WebP vs. JPEG vs. PNG: The Drama Unfolds
Here’s the tea: WebP is the MVP of image formats. It’s 30% smaller than JPEGs but just as crisp.
After switching my product gallery to WebP, my site speed jumped from “meh” to “holy cow, this is fast” (thanks, GTmetrix).
But here’s the catch: There’s multiple option that you could use convert the images to WEBP automatically
So now,
I use a plugin like ShortPixel Image Optimizer to auto-convert uploads to WebP, JPEG and even AVIF.
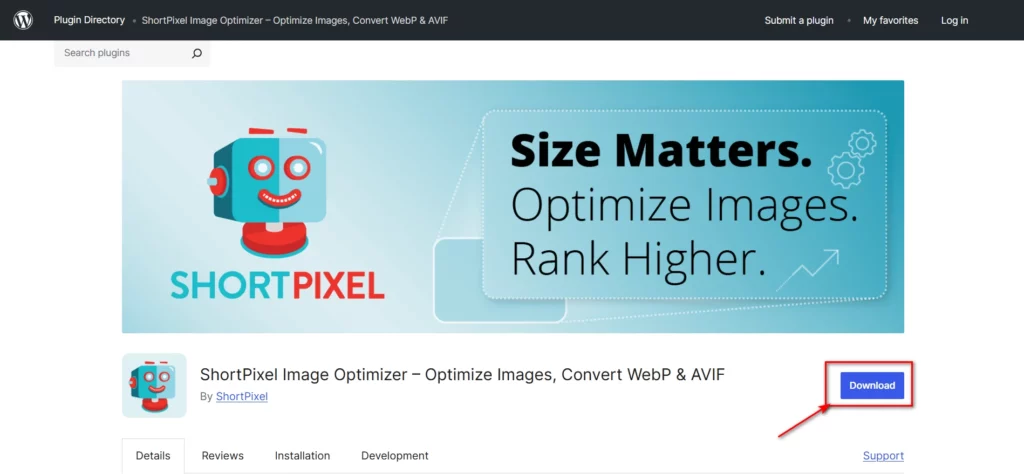
For graphics with text or logos?
Stick with PNG, JPEG turns text edges into blurry nightmares.
- Lazy Loading: Because Your Homepage Isn’t a Buffet
I used to dump 13+ product images on a single page. Big mistake.
Customers’ browsers would choke trying to load all that at once.
Enter lazy loading.
It’s like a bouncer for your images they only load when users scroll to ’em.
My plugin of choice?
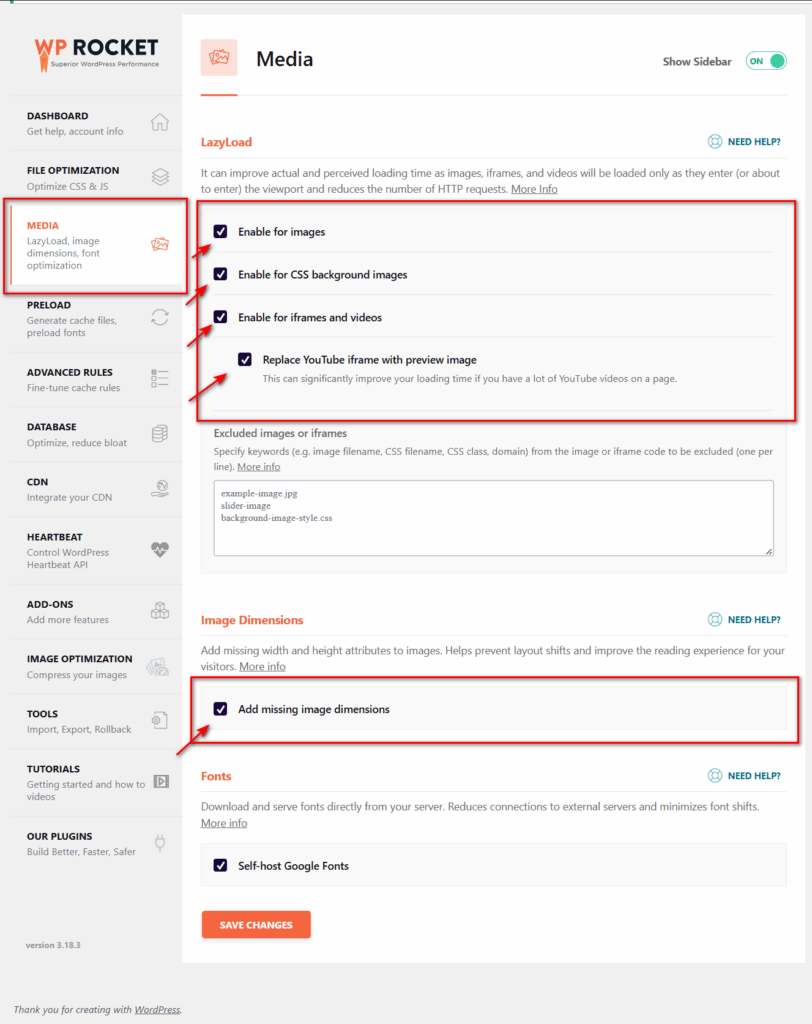
WP Rocket. Installed it, enabled lazy loading, and watched my load time drop by 40%.
You can go to Settings → WP Rocket → Media and check the boxes:
- Enable for images
- Enable for CSS background image
- Enable for iframes and videos
- Replace Youtube iframe with preview image
- Add missing image dimension (optional)
- Self-host Google fonts (optional)
A Dirty Little Secret About “Quality”
Customers don’t need to see every thread in your polyester-blend hoodie.
Seriously.
Compressed images still look professional if you keep dimensions reasonable.
I resize everything to 1200px wide max.
My website now load in 1.8 seconds, and returns dropped because…
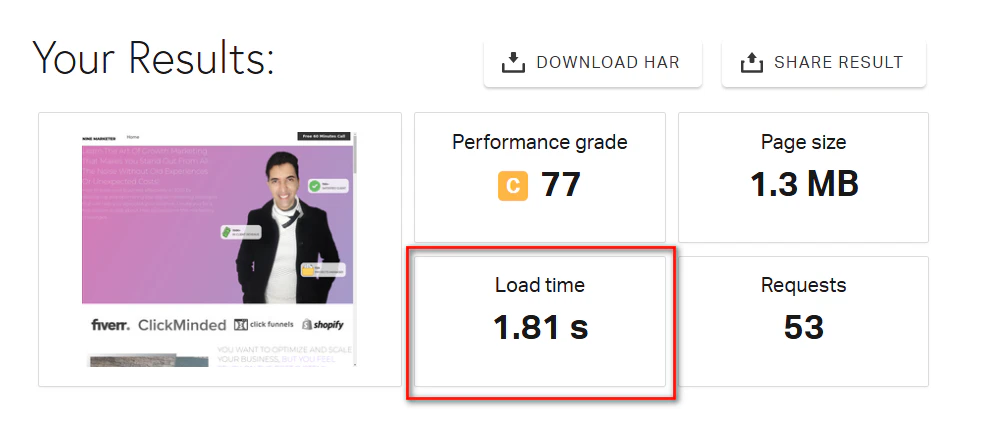
Most of the images of the website have PNGs images and must be changed by compress the size through Webp
The Results after the compress…
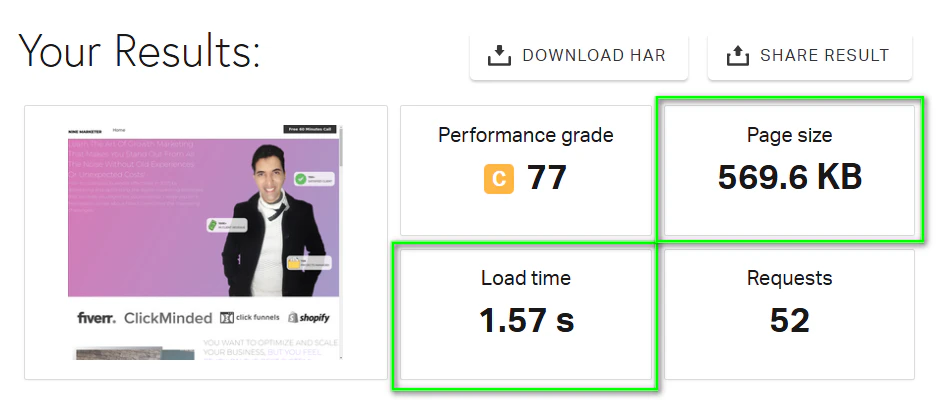
Compressed images load faster, so customers actually see the product details instead of rage-quitting.
Final Takeaway
Optimizing images isn’t about being a pixel-perfect perfectionist it’s about balance.
Shrink files, pick smart formats, and let lazy loading do the heavy lifting.
Oh, and test on real devices.
That $20 Android burner phone from Walmart?
It’s my go-to for spotting laggy images.
P.S. ShortPixel come with Free Plan and Paid Plan? but if you looking for completely Free option check Squoosh.app, browser-based, and weirdly addictive.
2. Trim Bloated Apps and Plugins – Speed Up Your Dropshipping Store
Let me paint you a cringe-worthy picture: Last year, my Shopify store had 22 apps installed.
Twenty-two. Popups, countdown timers, loyalty programs, you name it.
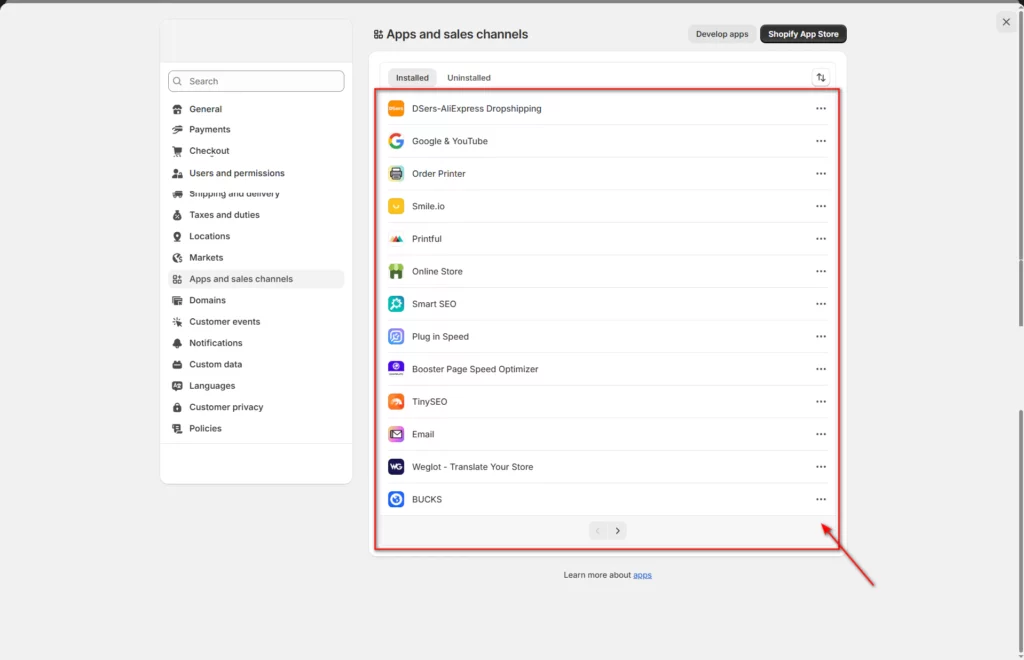
My site took 7 seconds to load, and my developer friend told me it felt “like running through quicksand in hiking boots.”
Turns out, half those apps were either redundant, unused, or secretly slugging my speed.
My wake-up call?
Realizing I had apps fighting like toddlers over whose animation would load first.
The App Audit That Hurt My Feelings (But Saved My Site)
Here’s the brutal truth: Apps are like potato chips.
You don’t realize you’ve binged until you’re bloated and regretful.
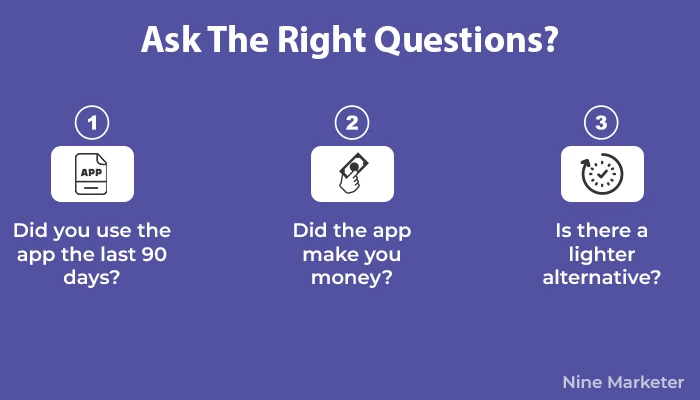
I started by listing every app/plugin and asking:
- “Have I used this in the last 90 days?”
- “Does it directly make me money or improve UX?”
- “Is there a lighter alternative?”
Turn out, one of my old store has over 40 plugins to make my website functional, by asking the right questions I was able to reduce them from 40+ to only 20 plugins. and that cut my JavaScript load time by 40%.
Harsh? Yes.
Necessary? Absolutely.
GTmetrix: The Truth Serum for Speed
Before my audit, my GTmetrix report looked like a hospital chart all red numbers and warnings.
After uninstalling the deadweight, I retested and nearly cried.
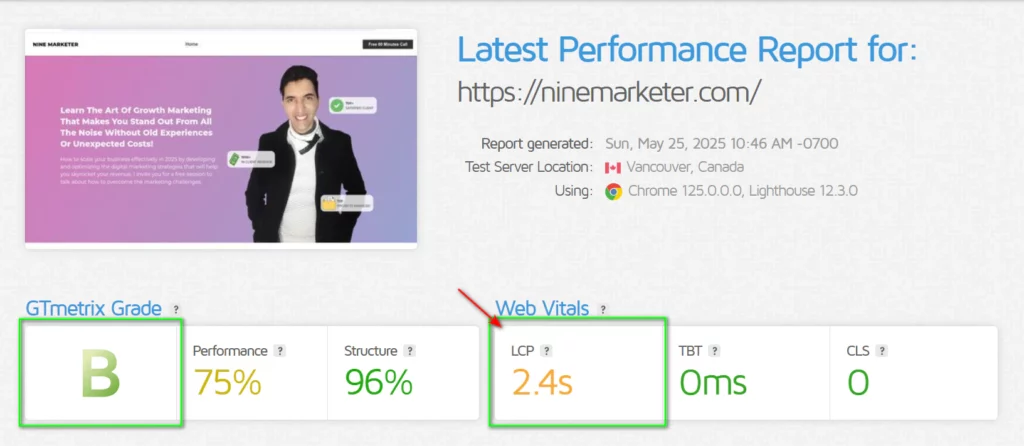
I take my website as an example.
Load time dropped from 7s to 2.4s, and my performance score jumped from a D to a B.
The kicker?
My hosting costs decreased because fewer apps were hogging server resources.
Now, I GTmetrix-test every time I add or remove an app.
It’s like a speed diet weigh in weekly, adjust as needed.
Final Word
Apps are tools, not trophies.
Every plugin should earn its place like an Olympic athlete if it’s not pulling weight, bench it.
Your customers (and Google) will notice the speed boost.
Pro Tip: If you’re scared to delete, just disable apps first. They’ll still show up in your dashboard, but they won’t drag your site down.
3. Leverage Browser Caching
How to Stop Making Visitors Download the Same Stuff Over and Over?
Confession:
I used to think “browser caching” was something only developers cared about.
Then I realized my dropshipping store’s homepage forced customers to re-download my logo, fonts, and product thumbnails every single visit.
It’s like making someone re-brew their coffee every time they walk into your café.
Annoying, wasteful, and slow.
Cache Expiration Headers Explained for Non-Techies
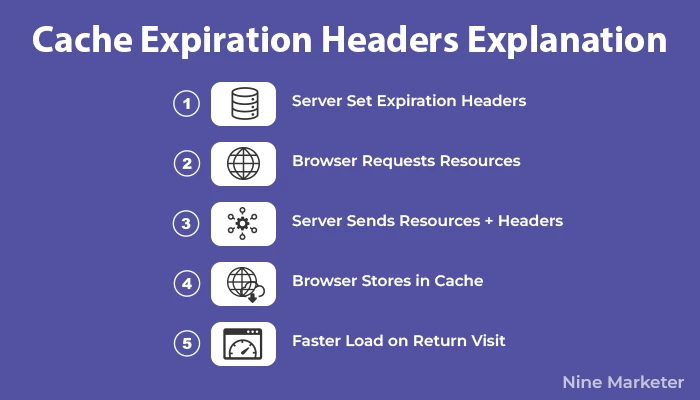
Think of browser caching as your site saying, “Hey visitor, I’ll save these files on your device so you don’t have to fetch them again.”
But how long should those files stick around?
That’s where expiration headers come in they’re like expiration dates on milk.
Set them too short (e.g., 1 day), and browsers waste time re-fetching files.
Set them too long (e.g., 1 year), and customers might see outdated product images after you update your catalog.
My rule of thumb:
- Images/PDFs: 6 months (you’ll update these occasionally)
- CSS/JavaScript: 1 month (tweak these more often)
- HTML: 24 hours (keep it fresh for SEO/content changes)
But here’s the kicker:
Most store owners (including past me) don’t set these at all.
Result?
Browsers default to whatever they want, which is usually “nah, let’s re-download everything.”
Plugins That Do the Heavy Lifting
For WooCommerce/WP Users:
WP Rocket is my go-to.
Install it, and the “Browser Caching” work automatically, and it auto-sets sensible expiration headers.

WP Rocket WordPress plugin automatically applies 80% of web performance best practices.
No coding. No headaches.
My site speed jumped 20% after setting this up.
For Shopify Folks:
Shopify’s built-in caching is like a silent hero it works automatically, but you’ve gotta play by its rules.
Static files (images, CSS) get cached aggressively, while dynamic content (product pages, cart) stays fresh.
Pro tip: Avoid cluttering your theme with unnecessary scripts. Every added app or custom code can mess with Shopify’s caching mojo.
The Day I Broke My Own Site (And Fixed It)
I once set my image cache to 1 year because “more is better, right?”
Wrong.
When I updated a product photo, customers kept seeing the old image for months.
Cue angry emails about “false advertising.”
Now, I rely on WP Rocket’s automatic file versioning, it updates cached files whenever I change them.
No more stale content.
How to Test if Caching is Working (No Tech Degree Needed)
- Open your site in Chrome.
- Right-click anywhere > “Inspect” > Go to “Network” tab.
- Uncheck “Disable cache” (top-right corner of the Network panel).
- Refresh the page.
- Look for files with “(from disk cache)” or “(memory cache)” in the “Size” column.
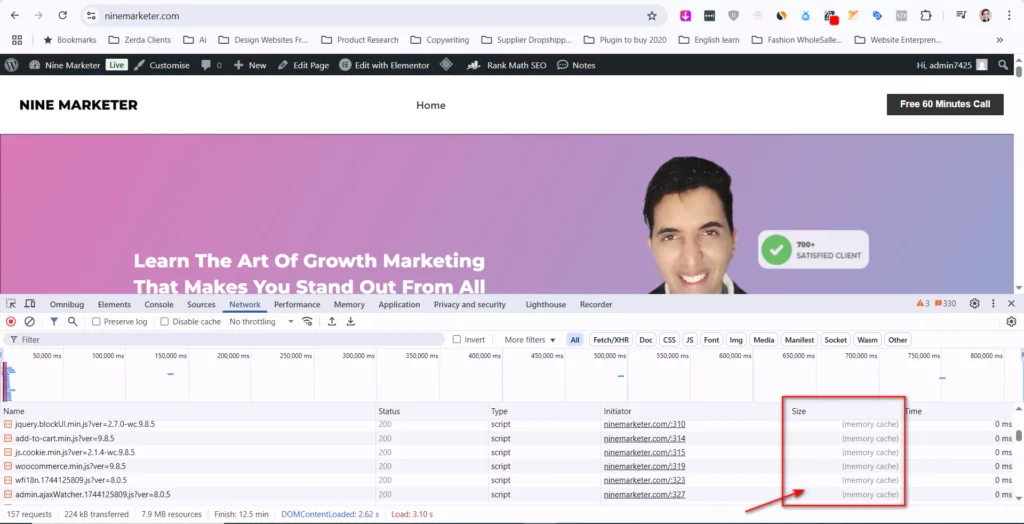
If you see it, congrats your caching works! If not, your headers are MIA.
3-Step Fix for the Overwhelmed
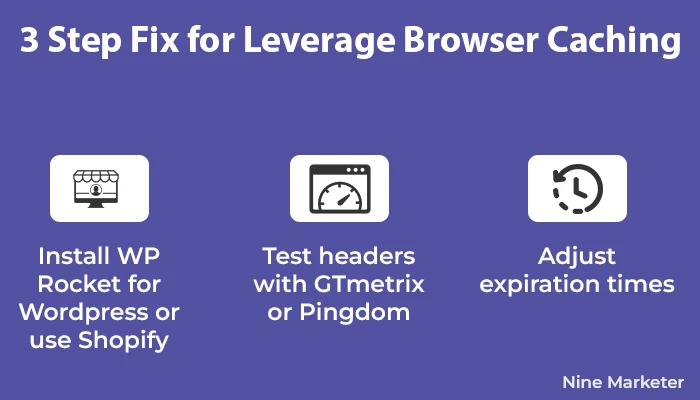
- Install WP Rocket (WordPress) or stick to Shopify’s built-in caching.
- Test headers using GTmetrix or Pingdom. Look for “Leverage browser caching” warnings.
- Adjust expiration times in your plugin/hosting settings. Start with 6 months for images.
The Lazy Person’s Cheat Code
If tweaking headers feels like rocket science, use Cloudflare.
Their “Browser Cache TTL” setting lets you pick expiration times from a dropdown.
Set it, forget it, and let Cloudflare fight the caching battles for you.
In succinct way to say that Browser caching isn’t sexy, but it’s the unsung hero of speed.
Fix it once, and every returning visitor gets a faster experience.
Plus, Google rewards you with better rankings.
Win-win.
4. Upgrade to a Faster Hosting Plan
Why Cheap Hosting Cost Not work?
Let’s start with a story you’ll cringe at: Imagine once you ran a six-figure dropshipping store on $3/month shared hosting.
Worked great… until Black Friday.
Traffic spiked, your site crashed for 8 hours, and lost enough sales to buy a used Honda Civic.
Turns out, hosting isn’t just “where your site lives”
It’s the foundation of your entire business.
Here’s how to pick a plan that won’t ghost you when things get real.
Shared vs. VPS vs. Dedicated Hosting: The No-Jargon Breakdown
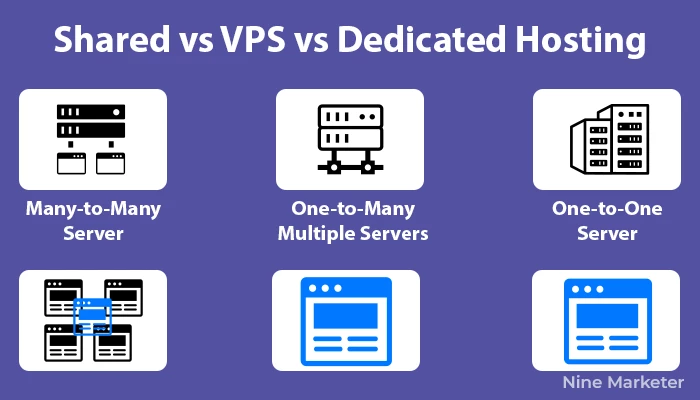
- Shared Hosting: The dorm room of hosting. You’re crammed with 500+ sites on one server. Cheap (3−3−15/month), but your “neighbors” can crash your site by hogging resources. Fine for hobby blogs, deadly for stores.
- VPS Hosting: Like renting a condo. You get your own slice of a server (starting at 20/month). More control, fewer crashes. My sweet spot for stores doing 10k-$50k/month.
- Dedicated Hosting: The mansion. An entire server just for you ($100+/month). Overkill for most, but necessary if you’re pulling Walmart-level traffic.
Top Hosting Picks for Dropshippers Who Value Sleep
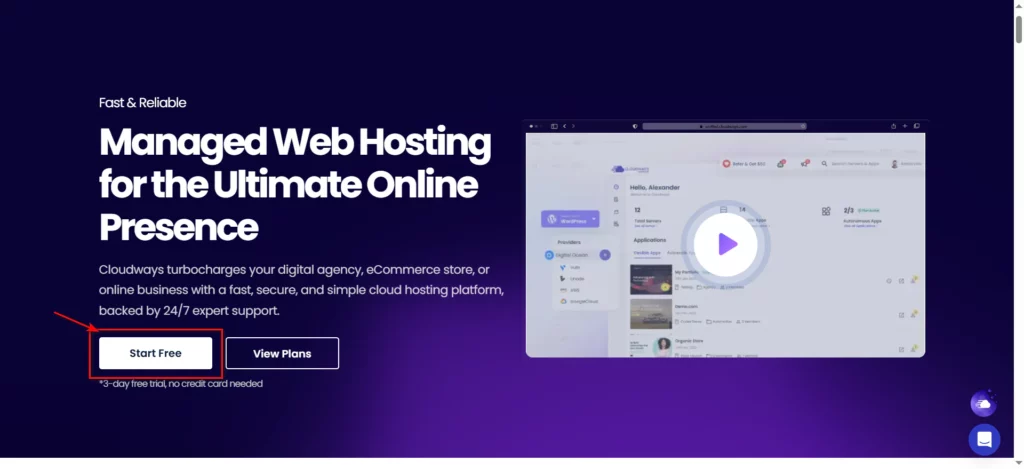
1. Cloudways (VPS): My MVP for scaling. You pick providers like DigitalOcean or AWS, but Cloudways handles the tech stuf
I upgraded mid-pandemic when traffic doubled, zero downtime, load time stayed under 2s.
Plus, their “Pay as You Go” plan saved my bacon when sales dipped.
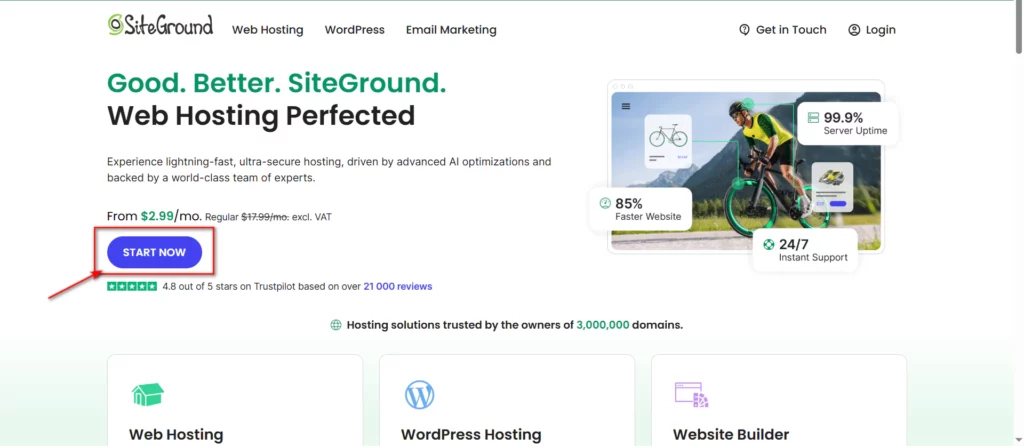
2. SiteGround (Shared/VPS): The training wheels of hosting. Their “GrowBig” plan ($30/month) got me from 0 to 50k visits/month without meltdowns.
Killer features: Free CDN, daily backups, and 24/7 support that actually answers in <5 mins.
3. Shopify Plus (Dedicated): For the big leagues (2k+/month). A client of mine switched after hitting 2k+/month).
Benefits?
Built-in CDN, unlimited staff accounts, and a concierge team that fixes issues while you nap.
Overpriced? Yes. Worth it?
If you’re doing Lamborghini money, absolutely.

The Hosting Upgrade That Saved My Sanity
In 2024, my site took 7 seconds to load because shared hosting couldn’t handle my 100+ product images.
Switched to Cloudways’ $40 Cloudways DigitalOcean plan, and overnight, load time dropped to 1.9s.
Conversions jumped 22%.
Felt like swapping a bicycle for a Tesla.
Pro Tip: You can use Uptimerobot to check your website every 5 minutes for free and send you notifications when your website is down.
3 Signs It’s Time to Upgrade
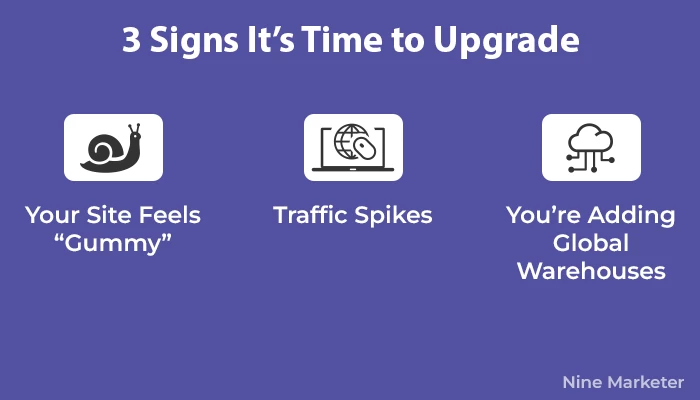
- Your Site Feels “Gummy”: Pages lag even after optimizing images/code.
- Traffic Spikes = Crash City: If 500 visitors tanks your site, run.
- You’re Adding Global Warehouses: International customers need servers closer to them (look for hosting with CDN/global data centers).
How to Migrate Without Losing Your Mind
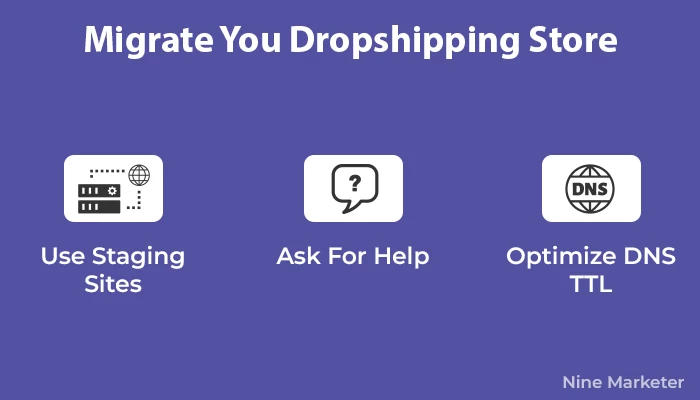
- Use Staging Sites: Most hosts (like SiteGround) offer this. Test the new server before switching.
- Beg for Help: Many providers like Cloudways offer free migration. I’ve literally sent them a “PLS HELP” email at 2 AM.
- DNS TTL Trick: Lower your domain’s TTL to 300 seconds 24 hours before migrating. Makes the switch faster and less glitchy.
The Lazy Person’s Hosting Formula
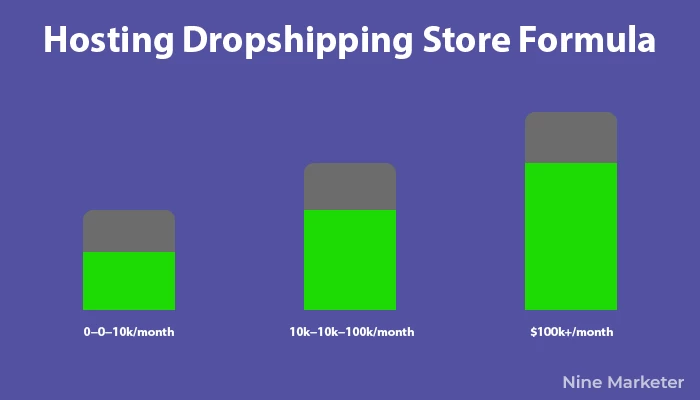
- 0−0−10k/month: Stick with Shopify’s basic plan or SiteGround.
- 10k−10k−100k/month: Cloudways VPS or Shopify Plus (if you hate tech).
- $100k+/month: Dedicated hosting + a developer on speed dial.
Final Takeaway about Website Hosting
Your hosting plan is like a spine if it’s weak, everything else collapses. Spend more upfront to avoid losing sales (and years off your life) later.
P.S. If you’re too scared to upgrade, at least get Cloudflare. It’s like a bulletproof vest for your current hosting plan.
5. Minify CSS, JavaScript, and HTML
How to Shrink Your Code Without Breaking Your Site?
I once thought “minify” was slang for making something cute and tiny.
Then I learned it’s the digital equivalent of Marie Kondo-ing your code stripping out spaces, comments, and junk characters so your site loads faster.
My “aha” moment?
When I shaved 3 seconds off my store’s load time just by compressing a single CSS file.
But oh boy, I’ve also broken my fair share of sliders and buttons by minifying blindly.
Let’s talk tools and traps.
Tools That Won’t Make You Want to Throw Your Laptop
1. WP Rocket (WordPress/WooCommerce):
This plugin is my lazy-day hero.
Install it, check the boxes for CSS and JS minification, and let it work its magic.
Pro tip: Don’t enable “Combine JavaScript files” unless you’ve tested it. Once, Because some of templates scripts hate being mashed together.
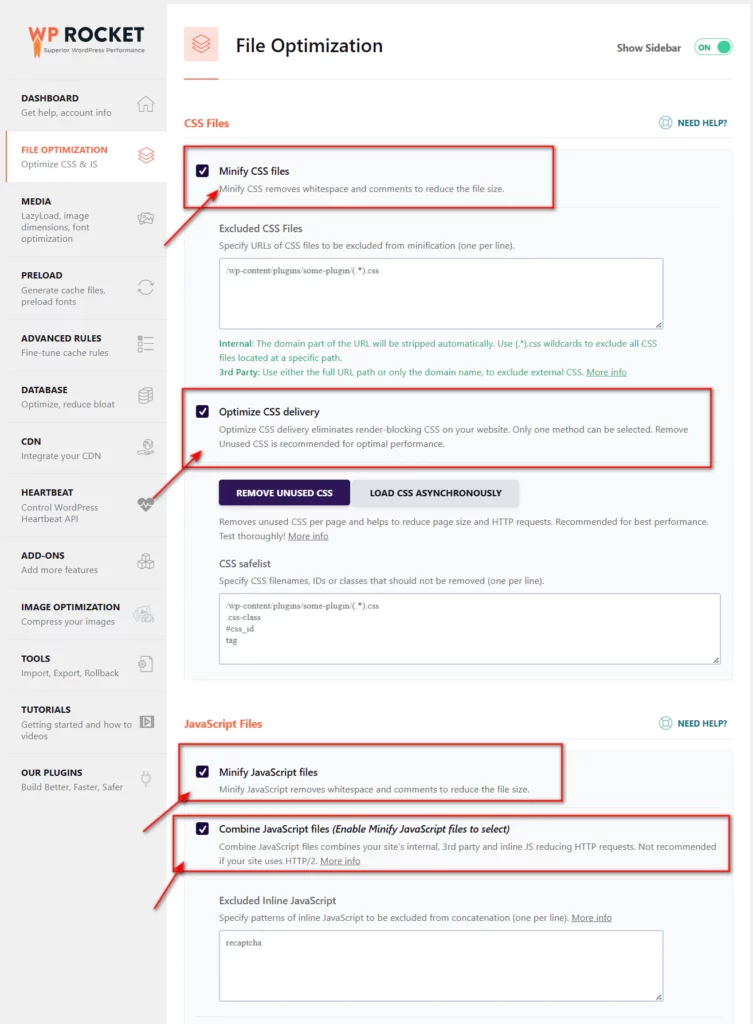
2. Shopify Themes:
Shopify automatically minifies and optimizes .css and .js files on the CDN when serving your live store.
So, there’s no need to worry about CSS or Javascripts being optimized.
The “Oops” That Taught Me to Test First
In 2025, I minified my entire CSS file without backing up.
The result?
My homepage’s hero image stretched to pixelated oblivion because the minifier removed a crucial /* responsive-image-styles */ comment.
Lesson learned: always:
- Duplicate your theme/files before minifying.
- Use a staging site (or Shopify’s “Preview” mode) to test.
- Check every page element buttons, forms, mobile menus.
3-Step Minifying Routine That Won’t Crash Your Site
- Audit Your Code: Tools like GTmetrix or PageSpeed Insights will flag unminified files. Start with the biggest offenders (lookin’ at you, 500KB theme.js file).
- Minify in Batches: Don’t go full Rambo. Minify CSS first, test, then move to JS, then HTML.
- Validate with W3C: Run minified CSS/JS through free validators like CSS Linter or JS Hint. Caught a syntax error that would’ve nuked my cart page?
Why Bother? Let’s Talk Numbers
Minifying my product page’s CSS alone saved 150KB.
That’s like removing 10 cat memes from your load time.
For a page with 1k daily visitors, that’s 150GB of bandwidth saved monthly.
Google’s Core Web Vitals loves this stuff my SEO rankings crept up after fixing render-blocking code.
Brevity Takeaway
Minifying is like flossing: quick, mildly annoying, but prevents disasters.
Use Wp Rocket or Shopify, test like your revenue depends on it (because it does), and never trust a minifier with unreadable code.
P.S. If you’re allergic to plugins, try CSS Minifier. Copy-paste your code, minify, and replace. Free. No drama.
6. Use a Content Delivery Network (CDN) – Your Global Speed Squad
Imagine this: A customer in Sydney tries to load your dropshipping store hosted in Texas.
Without a CDN, it’s like mailing a postcard from New York to Australia > slow, unreliable, and prone to getting lost.
But with a CDN?
It’s more like faxing that postcard to a local office down the street.
Here’s how I learned the hard way (and how you can skip the rage).
How CDNs Work (Without the Tech Babble)
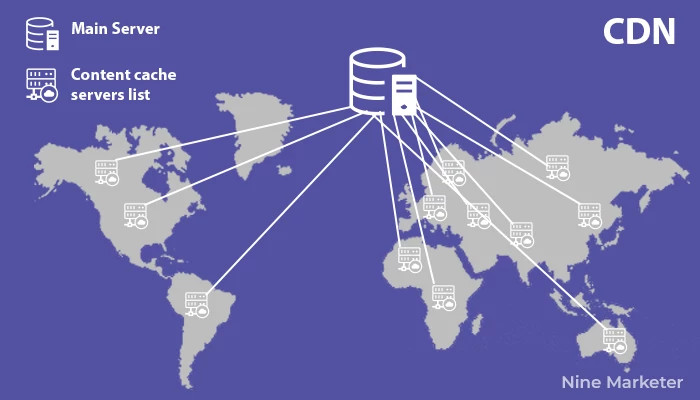
CDNs like Cloudflare or BunnyCDN store copies of your site’s static files (images, CSS, JS) on servers worldwide.
When someone visits your site, they grab files from the server closest to them.
No more waiting for data to cross oceans.
My “Duh” Moment:
My store’s bounce rate in Europe was 75% because images took 8 seconds to load from my U.S. host.
After setting up Cloudflare, load times in Germany dropped to 1.8 seconds.
Moral of the story?
Geography matters more than you think.
Cloudflare vs. BunnyCDN: The Quick Scoop
- Cloudflare: The “gatekeeper” CDN. Routes traffic through its security filters first, blocking bots and attacks. Their free plan is a no-brainer for starters I used it for 2 years before upgrading.
- BunnyCDN: The speed demon. Cheaper than most, with a pay-as-you-go model ($0.01/GB). My product videos load 50% faster since switching.
Free vs. Paid CDNs: When to Upgrade

Free Plans (Cloudflare):
- Pros: Zero cost, basic DDoS protection, easy setup.
- Cons: Limited features (no image optimization), slower support.
- Use Case: New stores under 10k visits/month.
Paid Plans (BunnyCDN, Cloudflare Pro):
I once enabled Cloudflare’s “Rocket Loader” (a JS optimizer) without testing.
- Pros: Image compression, edge caching, priority support. Cloudflare’s $20/month plan includes “Polish” (auto-image optimizer).
- Cons: Costs add up fast if you’re media-heavy.
- Use Case: Scaling stores, video-heavy product pages, or global audiences.
How to Set Up a CDN in 15 Minutes (Seriously)
- Sign Up: Cloudflare’s free tier takes 2 minutes.
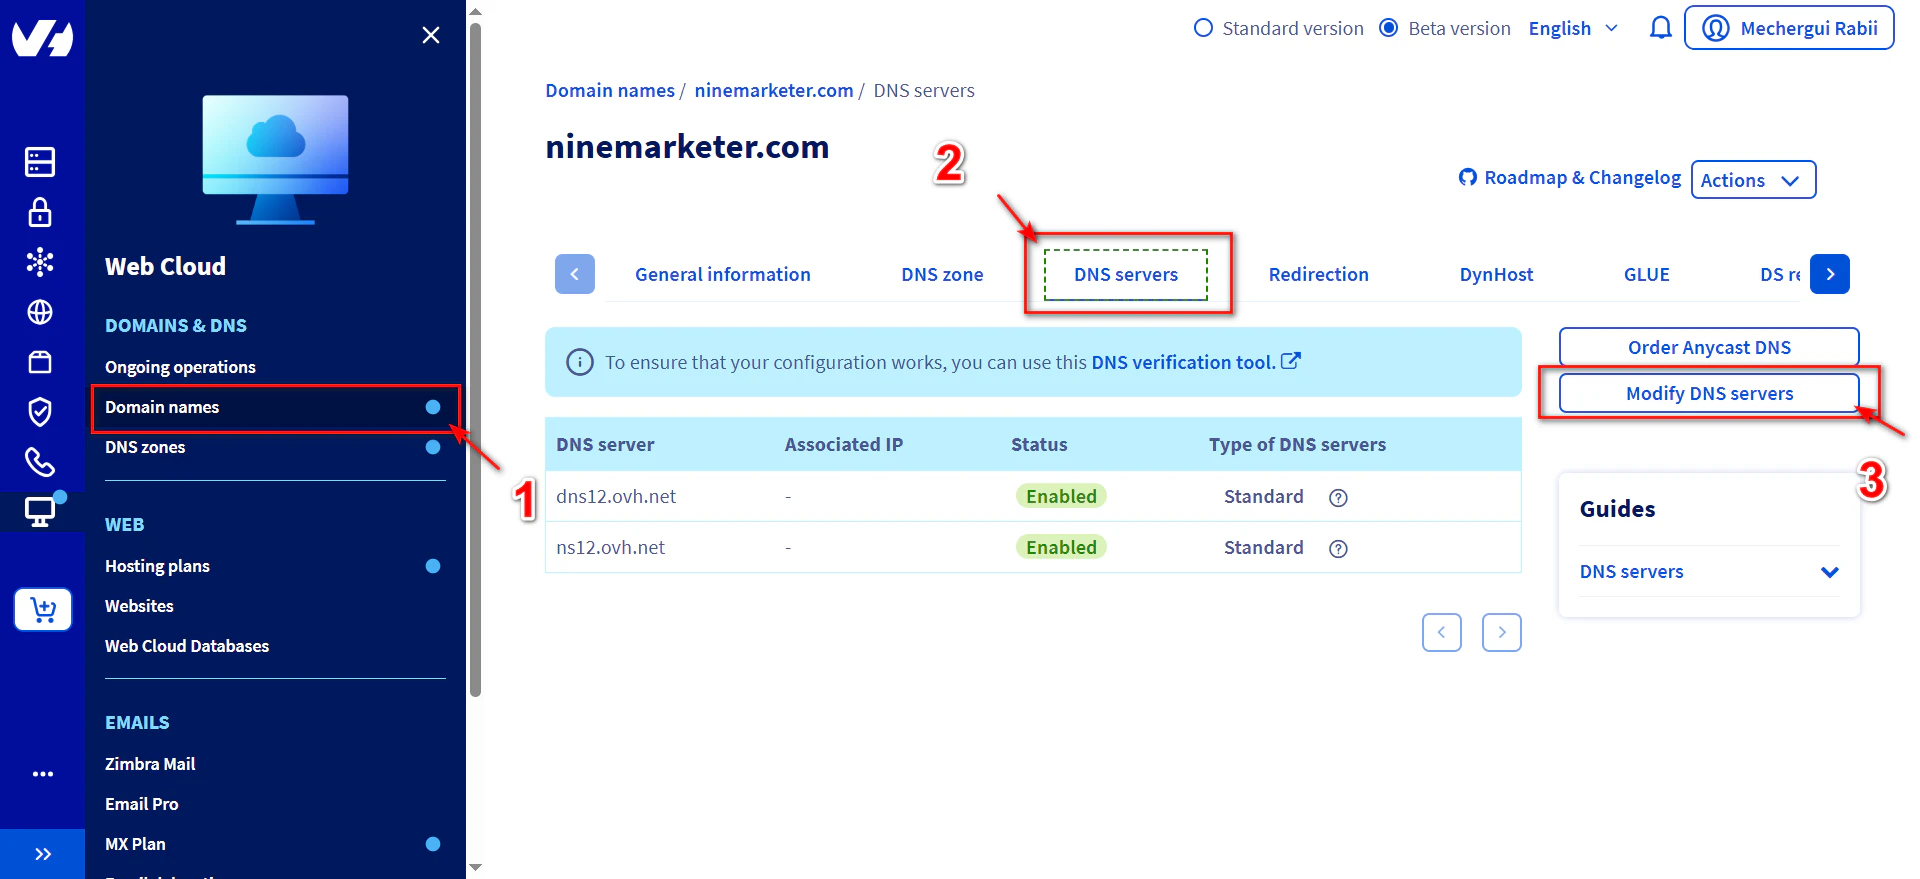
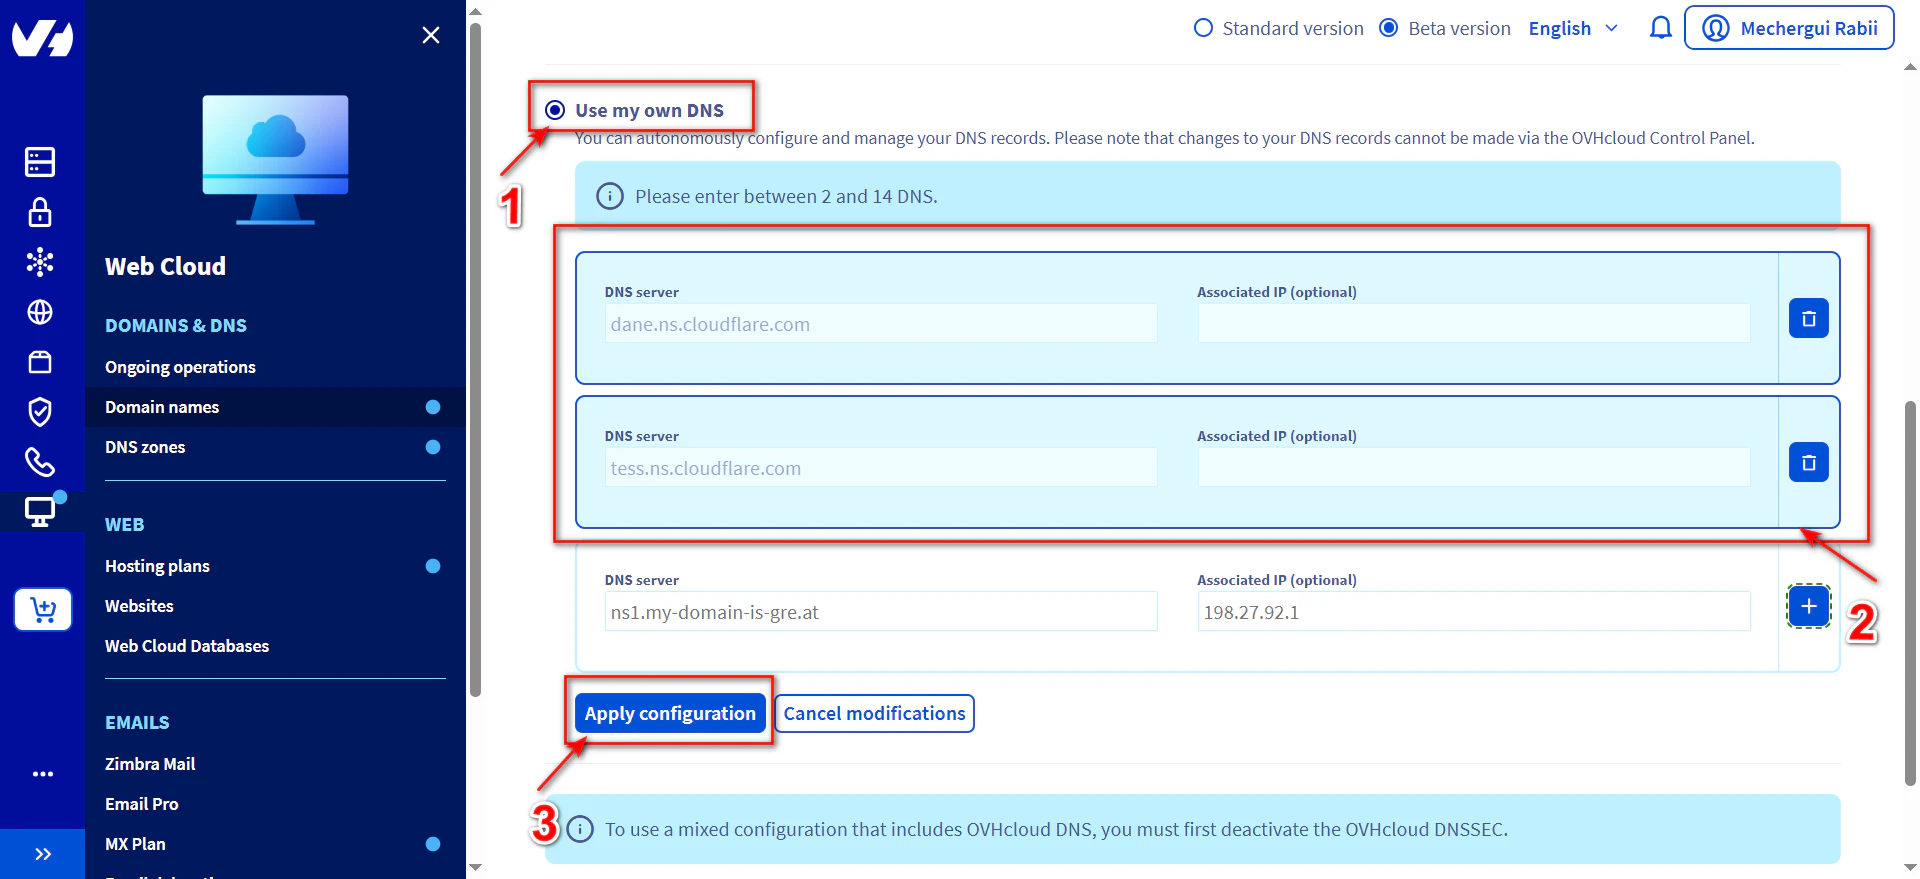
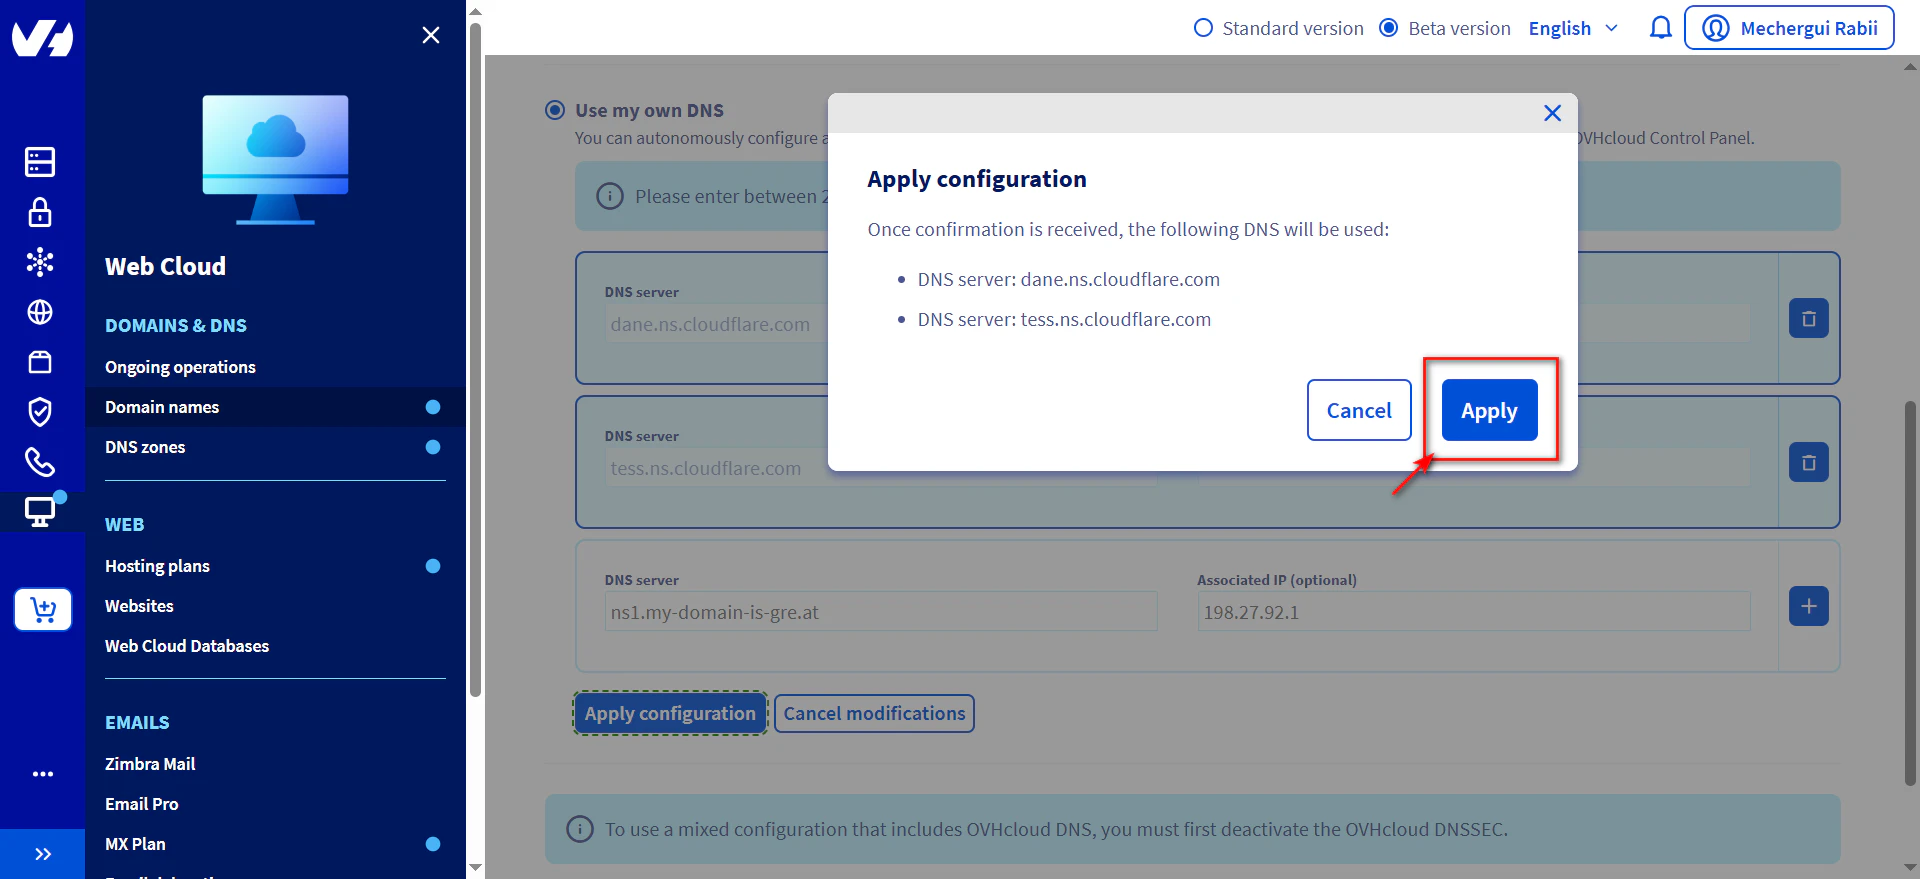
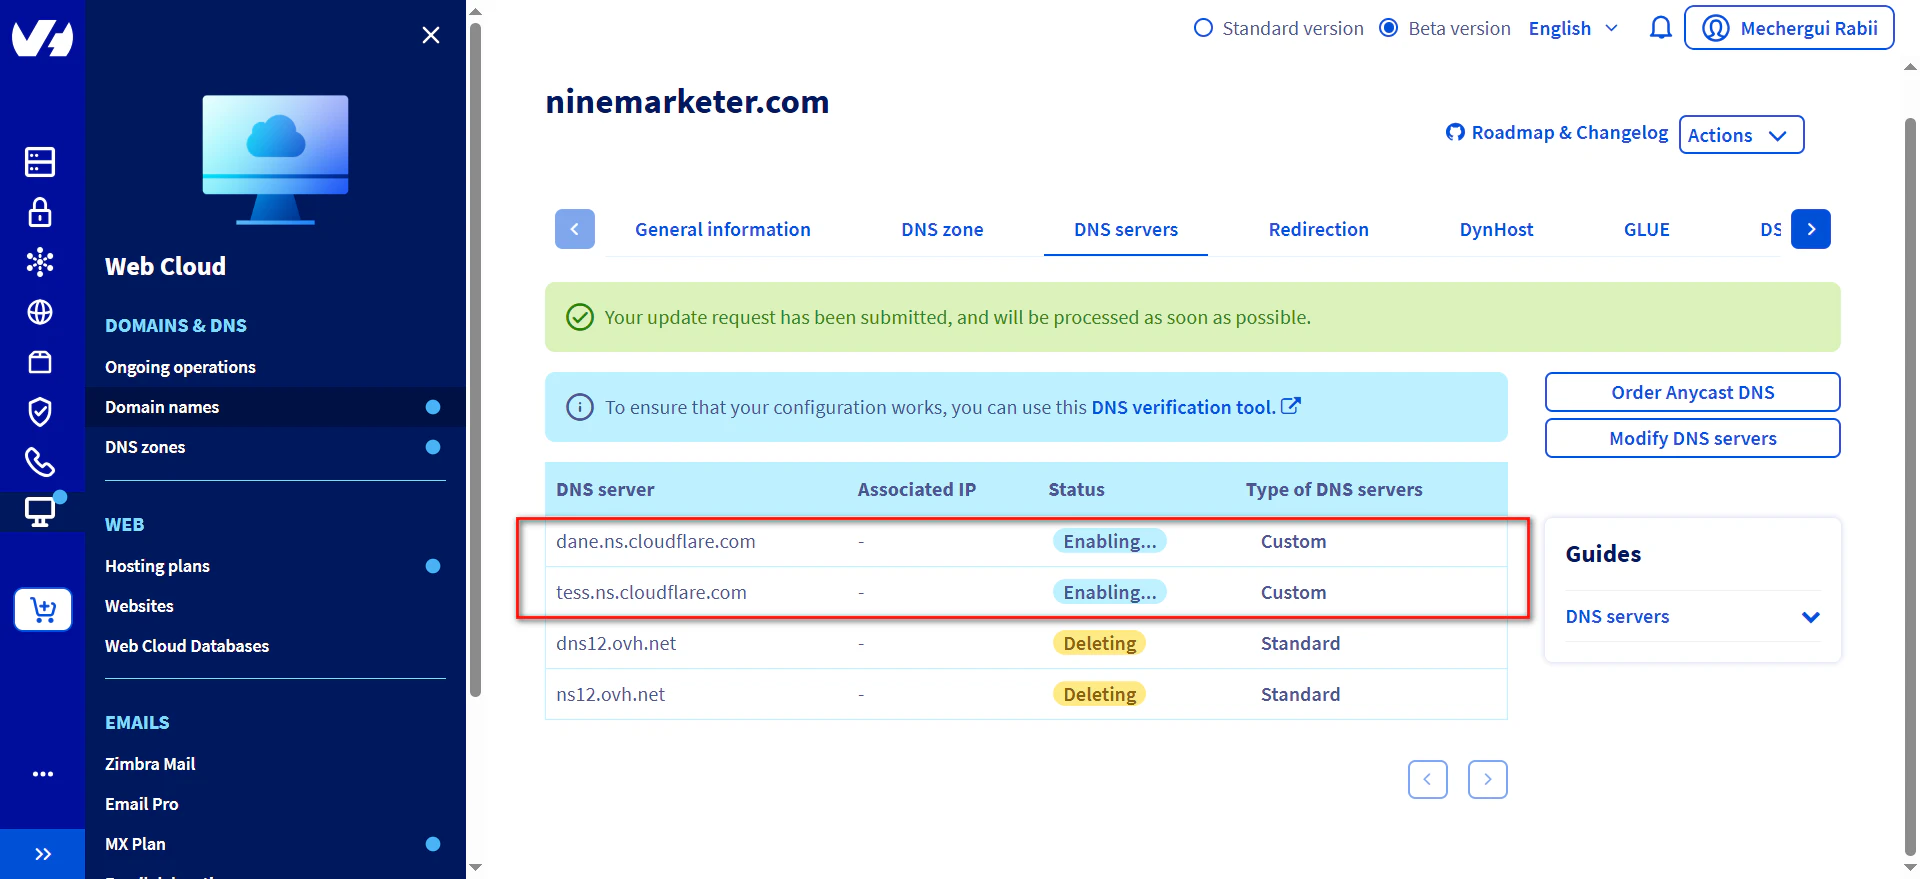
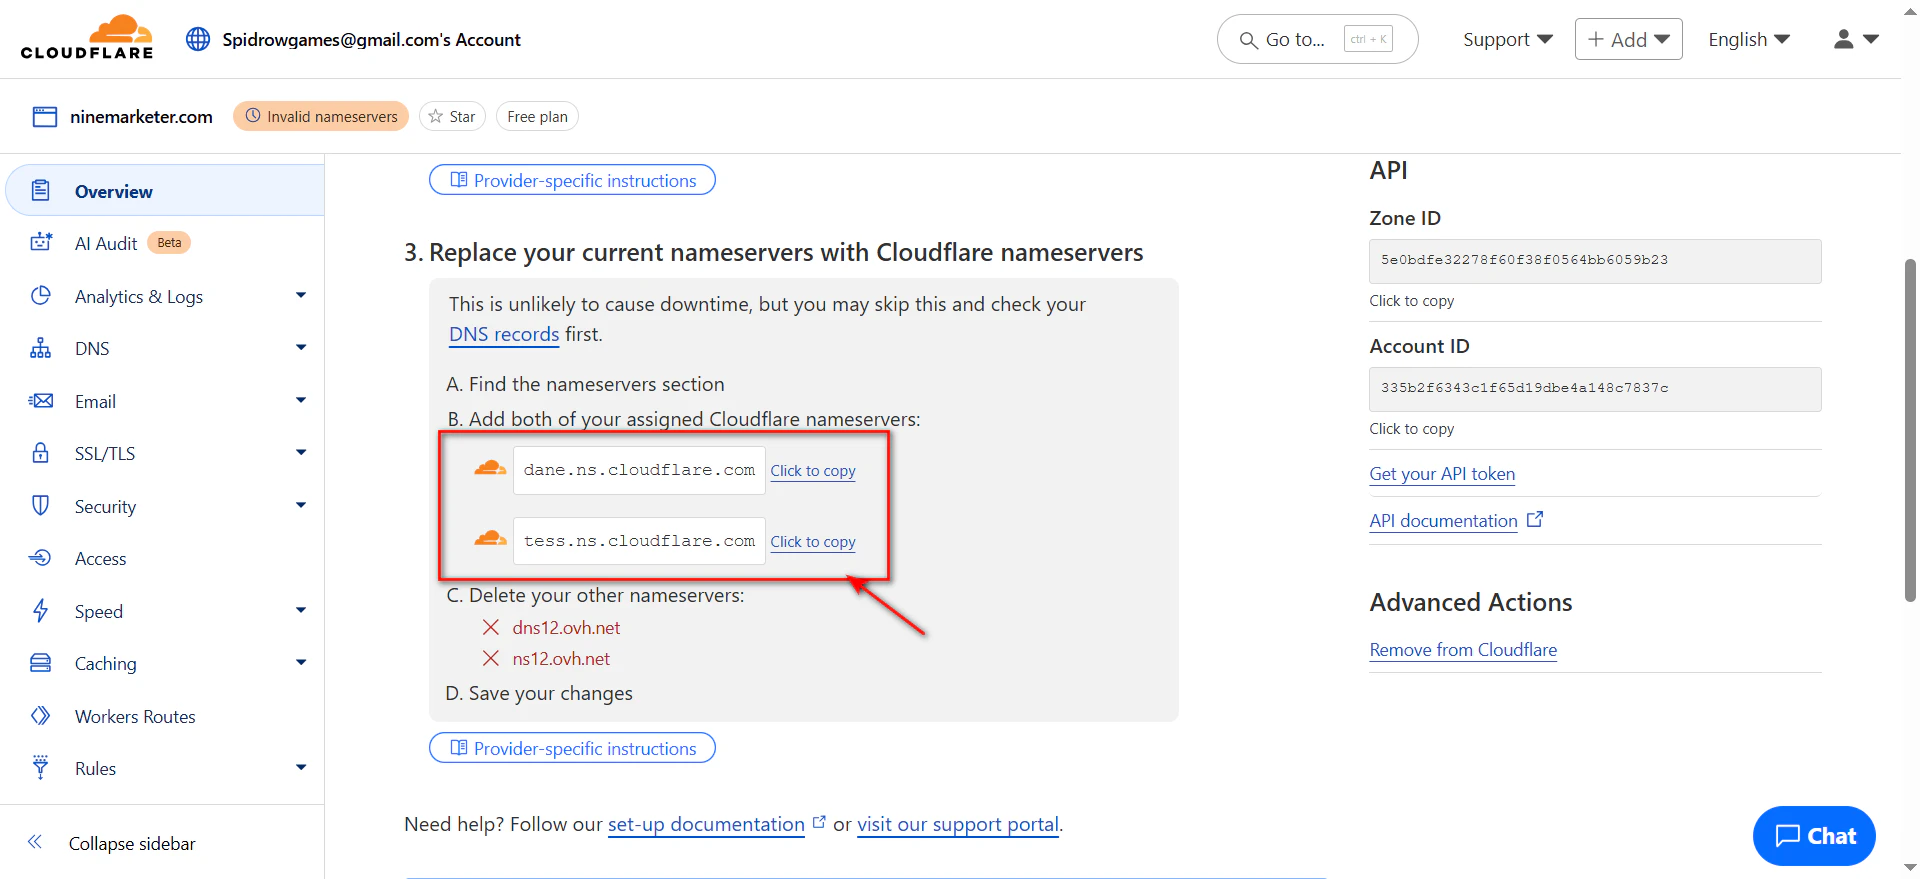
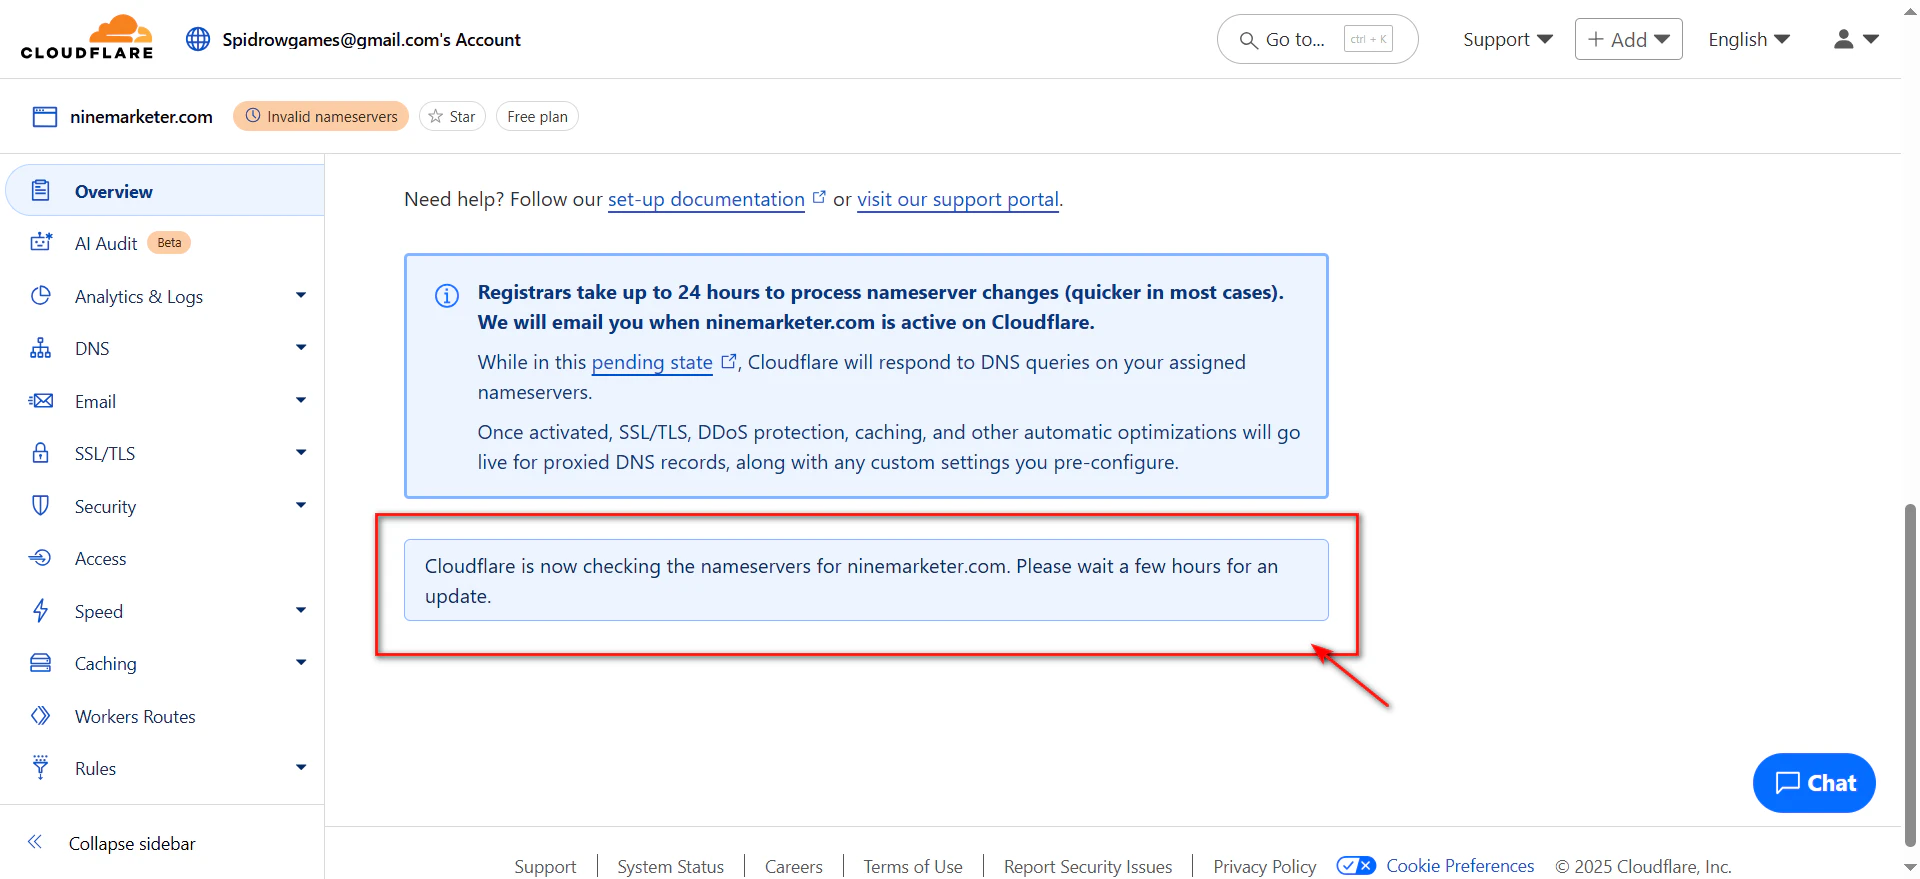
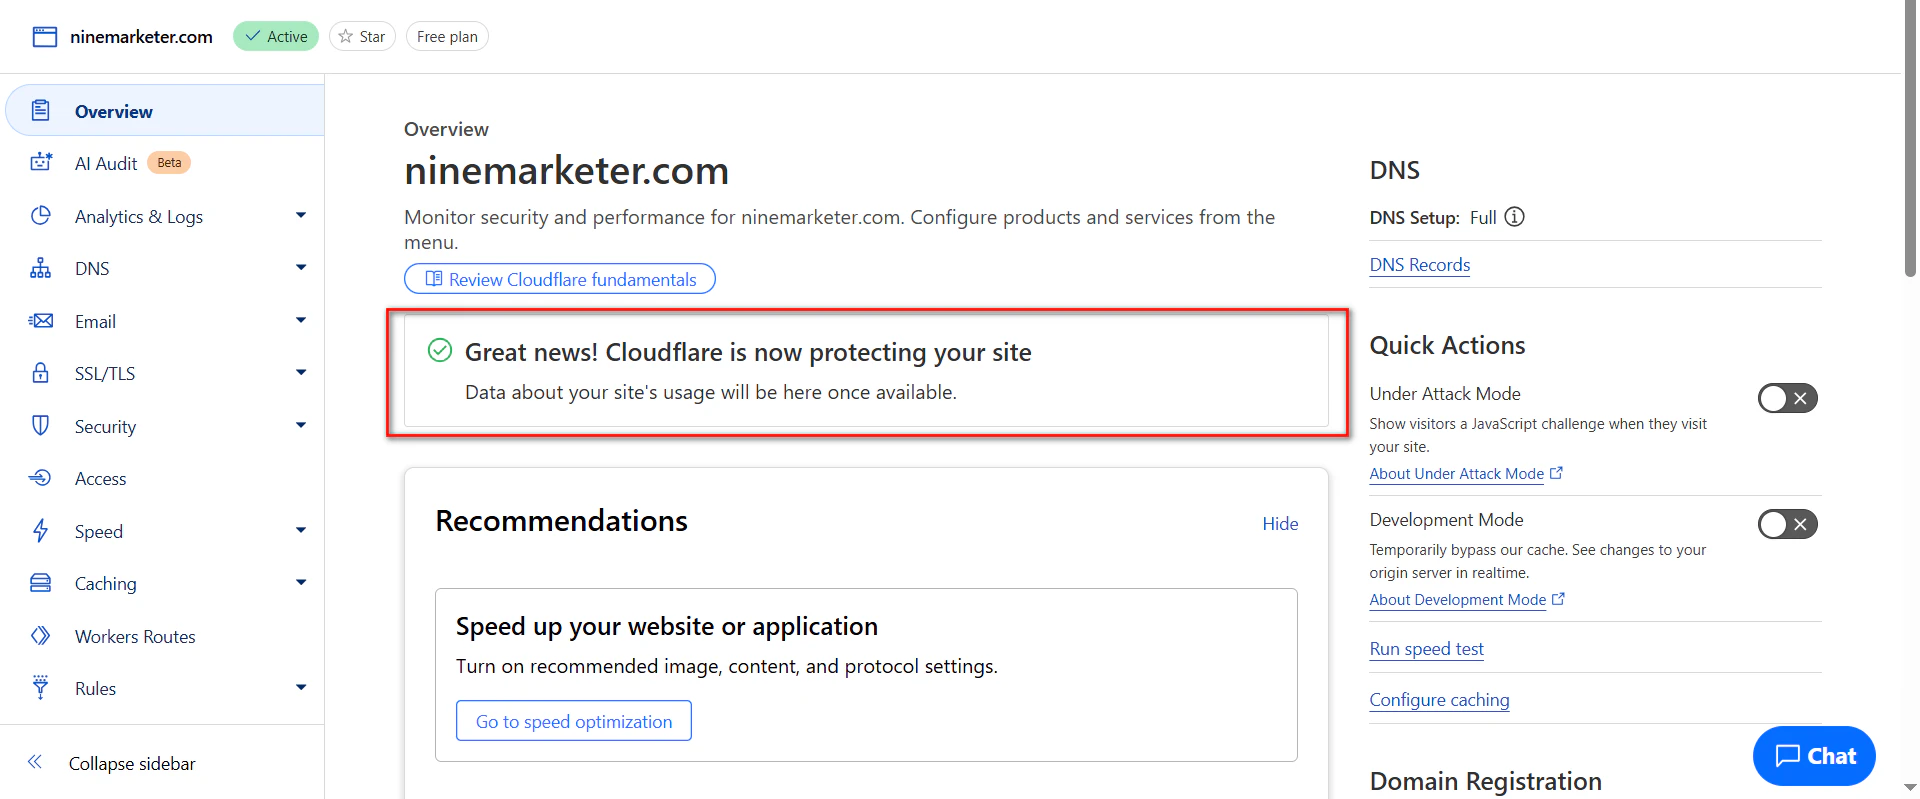
- Point Your DNS: Change nameservers to Cloudflare’s (they’ll guide you).
- Enable Auto-Minify: In Cloudflare’s dashboard, check “CSS + JS + HTML” under Speed > Optimization.
- Test with Pingdom: Use their global testing tool to see load times from Tokyo vs. Toronto.
Why Cheap Hosting + a CDN = Genius Hack
Stuck on budget hosting?
A CDN can mask its weaknesses.
My $5/month Hostinger plan felt “fast enough” once Cloudflare cached my product images globally.
Saved me a lot on hosting upgrades.
Final Takeaway
A CDN isn’t optional it’s survival gear.
Free plans work wonders for small stores, but paid tiers pay for themselves when international sales spike.
Just don’t forget to test everything.
P.S. If you’re lazy, use Shopify’s built-in CDN. It’s automatic, but you’re stuck with their rules. BunnyCDN’s 14-day trial? Worth a coffee-fueled weekend experiment.
7. Simplify Your Theme Design
Let me start with a shameful admission:
I once spent time investing on a Shopify theme with “parallax scrolling,” “3D hover effects,” and enough animations to make a Pixar movie.
It looked stunning…
until I realized my product pages took 9 seconds to load.
Customers bounced faster than a kangaroo on espresso.
Turns out, “premium” themes often come with bloated code that’s slower than a dial-up modem.
Why Heavy Animations Are the Enemy
Parallax effects and CSS animations might look cool, but they’re like pouring molasses into your site’s engine.
Here’s what I learned the hard way:
- They Crush Mobile Performance: That slick slide-in menu? It added 2 seconds to my mobile load time because older phones can’t handle complex animations.
- Google Hates Them: Core Web Vitals penalizes sites with excessive layout shifts (looking at you, animated banners). My SEO rankings dropped 15 spots until I axed them.
- They Distract from Conversions: My bounce rate dropped tremendously when I replaced a 3D heavy animation (that lagged) with static, high-res images.
Lightweight Themes That Won’t Sabotage Your Speed
1. Dawn (Shopify):

Shopify’s free default theme is a minimalist’s dream.
It’s like the yoga pants of themes stretchy, comfy, and zero frills.
Bonus: It’s built for mobile-first indexing, so your product pages won’t look like a scrambled puzzle on phones.
2. Flatsome (WooCommerce):
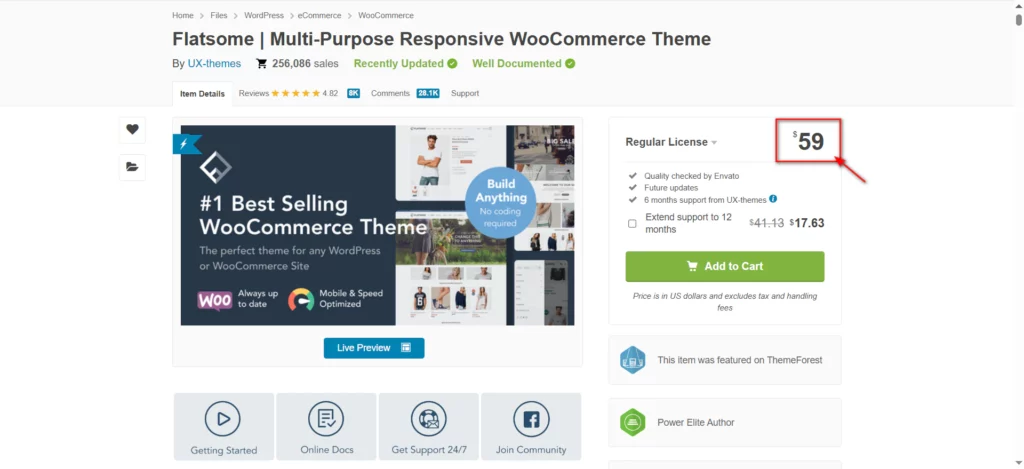
Don’t let the name fool you this theme is lean.
I’ve used it for 3+ years, and it’s survived traffic spikes, Google algorithm updates, and my own tinkering.
The drag-and-drop builder lets you add just enough style without drowning in code.
3-Step Theme Detox for the Overwhelmed
- Run a Speed Test: Use GTmetrix or Lighthouse. Look for “Reduce unused JavaScript/CSS” warnings.
- Disable Animations: In your theme settings, turn off parallax, hover effects, and auto-playing videos.
- Test on a Potato Phone: Borrow your aunt’s 2022 Android. If your theme lags, simplify it.
The Aesthetic vs. Speed Tightrope
You don’t have to choose between “pretty” and “fast.” My current site uses Dawn with:
- Bold, static banners (compressed to 100KB+)
- Micro-interactions: A simple “Add to Cart” color change instead of spinning icons
- System fonts: No more waiting for “Brandon Grotesque” to load
It’s clean, professional, and loads in 1.3 seconds.
Closing this section by saying your theme isn’t a portfolio piece it’s a sales tool. Ditch the digital glitter, focus on speed, and let your products shine.
P.S. If you’re theme-shopping, test demos with WebPageTest.org. My “perfect” theme had a hidden 4MB background video. No thanks.
8. Defer Non-Critical JavaScript – How I Shaved 3 Seconds Off My Load Time (And Almost Broke My Cart)
Let me tell you about the time I broke my store’s checkout page by deferring the wrong script.
Spoiler: My “Add to Cart” button turned into a ghost for 8 hours.
But once I figured it out?
My First Contentful Paint (FCP) dropped from 4.2s to 1.1s.
Here’s how to defer scripts safely and why your Google rankings will thank you.
Why Deferring JavaScript Matters for FCP
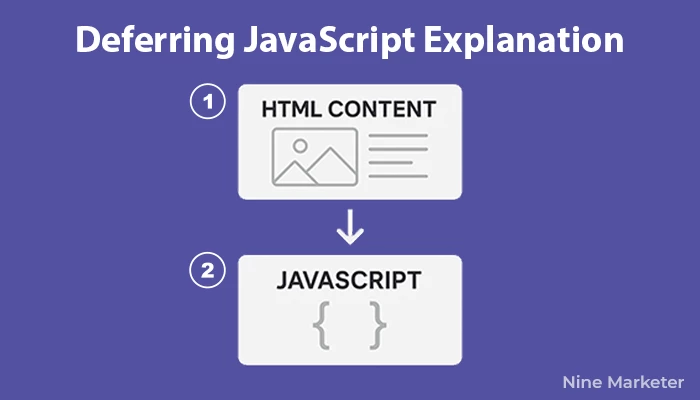
FCP measures how fast your first visual content (like a header or product image) appears.
Render-blocking scripts are like that friend who stops everyone at the door to chat your page can’t show anything until they’re done.
Deferring non-critical scripts (like analytics, live chat, or social widgets) lets the browser load important stuff first.
My Wake-Up Call:
Pre-deferring, my FCP was 5s. Google Analytics, TikTok pixel, and a popup app were all jamming up the main thread.
After deferring, FCP hit 1.5s, and my Pagespeed score jumped 30 points.
Step-by-Step: Defer Scripts in Woocommerce WordPress using WP-Rocket
Instead of editing theme files manually, I used WP Rocket to safely manage script loading:
Action Step WP Rocket:
- Go to Settings => WP Rocket => File Optimization
- Enable “Load JavaScript deferred”
- Use the One-click exclusions section
- Excludes the scripts that might has risk to break your website
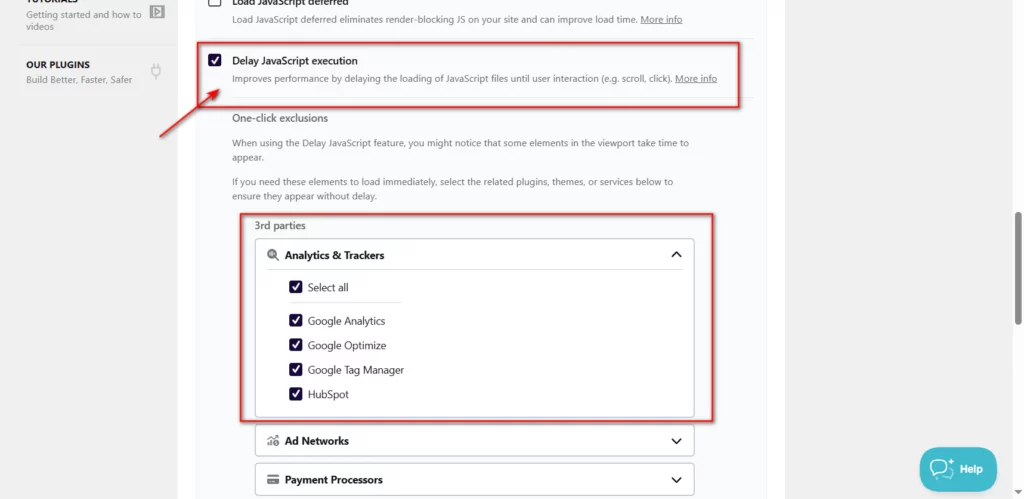
Wp-Rocket has feature that allow you to do JavaScript execution and this example image from my website I enable the Delay JavaScript Execution and then use One-click exclusions on the 3rd parties tools section to make the tools that I don’t want to get effected by JavaScript deferred.
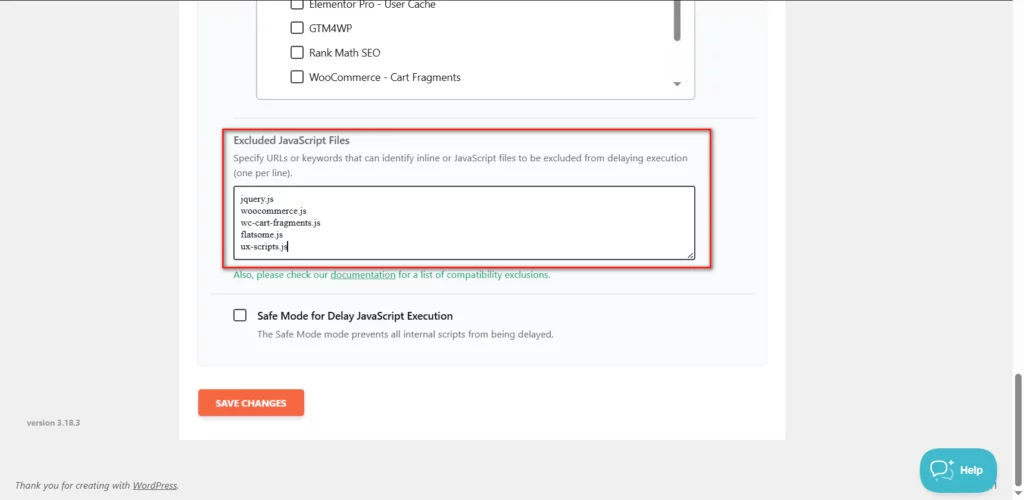
Sometimes Wp-Rocket will not show the theme, plugins or services that you use on your website.
To do the Exclude of the JavaScript the best way to deal with is using the Excluded JavaScript Files box to add them there.
And that will work as an alternative solution.
Tools to Spot Render-Blocking Scripts
- PageSpeed Insights: Flags scripts delaying FCP under “Opportunities.”
- GTmetrix Waterfall Chart: Shows which scripts load first. Look for long red bars.
- Shopify’s Dawn Theme: Already defers non-critical scripts by default, steal its approach.
The Lazy Person’s Fix
- Shopify: Install the “SpeedBoostr:Google Speed ‑ SEO” app. It defers scripts with one click (costs $4.99/month, but saves hours).
- WooCommerce: Use WP-Rocket (my fave). It defers scripts, lazy-loads images, and even delays third-party junk.
Final Takeaway
Deferring scripts is like unclogging a drain, messy at first, but everything flows smoother afterward.
Prioritize FCP by delaying non-essentials, but test like your revenue depends on it (because it does).
P.S. Still nervous? Use Cloudflare’s “Speed Brain + “Rocket Loader.” It defers scripts automatically. Just don’t blame me if your cart acts quirky.
9. Monitor Speed Continuously
Let me confess: I used to treat site speed like a New Year’s resolution.
I’d fix it in January, ignore it until December, and wonder why my store felt sluggish by summer.
And I keep ignoring skipping the speed diagnosis website.
It Ends with down of the website multiple time canseing drop in ranking, losing customers and sales.
I check my speed religiously.
Here’s how to avoid my mistakes without losing your mind.
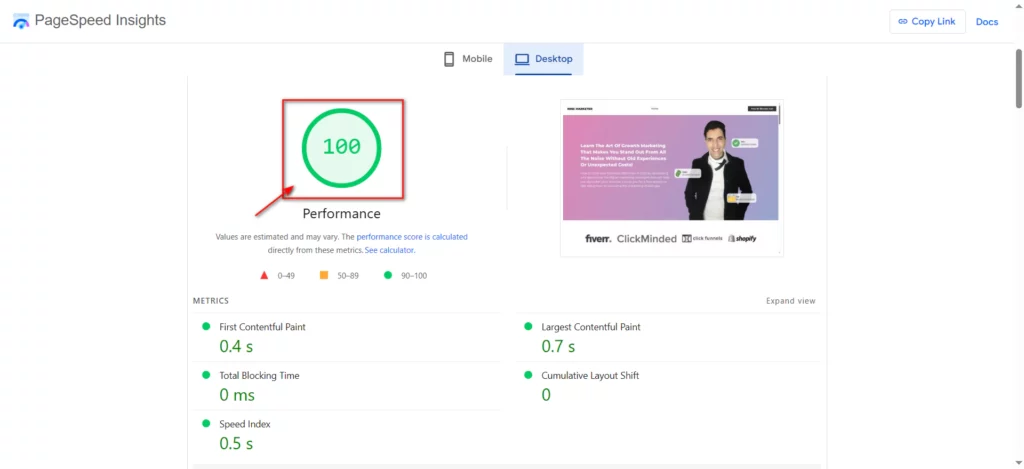
Free Tools That Became My Speed Guardians
This tool is like a brutally honest gym coach.
Paste your URL, and it grades your site (0-100) while roasting your render-blocking scripts and oversized images.
The magic?
It breaks down issues by mobile and desktop.
After ignoring mobile warnings for months, I finally optimized my product grids for phones FCP dropped from 4s to 1.3s.
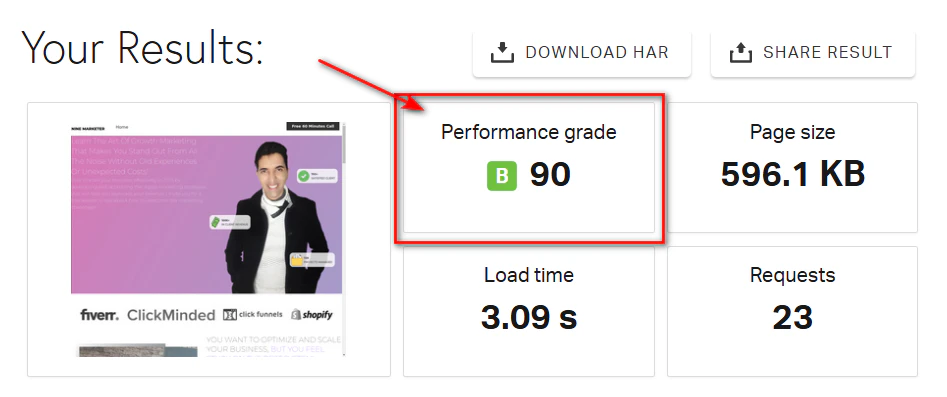
Want to see how fast your site loads in Tokyo vs. Texas?
Pingdom lets you test from 7 global locations.
I discovered my Asia – Japan – Tokyo customers suffered 7.32s load times because my hosting server was in Europe.
I use cloudflare the speed jum to 4.98s
Pro Tip: Bookmark both tools. Run tests monthly, after major site changes, and before big sales. I set a recurring task in Trello labeled “Don’t Be Lazy – Check Speed”.
The Monthly “Speed Check-Up” Routine That Saved My Bacon
Speed isn’t a “set it and forget it” thing. It’s like a car skip oil changes, and eventually, the engine explodes.
Here’s my no-fuss monthly routine:
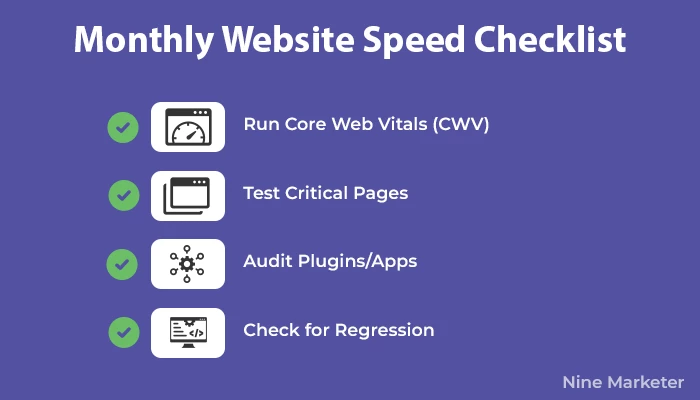
1. Run Core Web Vitals (CWV) Report:
- In Google Search Console, go to Experience → Core Web Vitals.
- Filter by “Mobile” (since 60%+ traffic comes from phones).
- Fix any URLs labeled “Poor” or “Needs Improvement.”
2. Test Critical Pages Manually:
- Homepage, top 3 product pages, checkout.
- Use Chrome’s DevTools (Right-click → Inspect → Lighthouse) to generate reports.
3. Audit Plugins/Apps:
- Ask: “Did I add any new apps this month?”
- Test their impact by disabling one at a time and rerunning PageSpeed.
4. Check for Regression:
- Compare current GTmetrix scores to last month’s. If load time increased, dig into the Waterfall chart.
Why You Need Alerts (Not Just Manual Checks)
Humans forget. Servers crash. Plugins update. Set up automated monitoring:
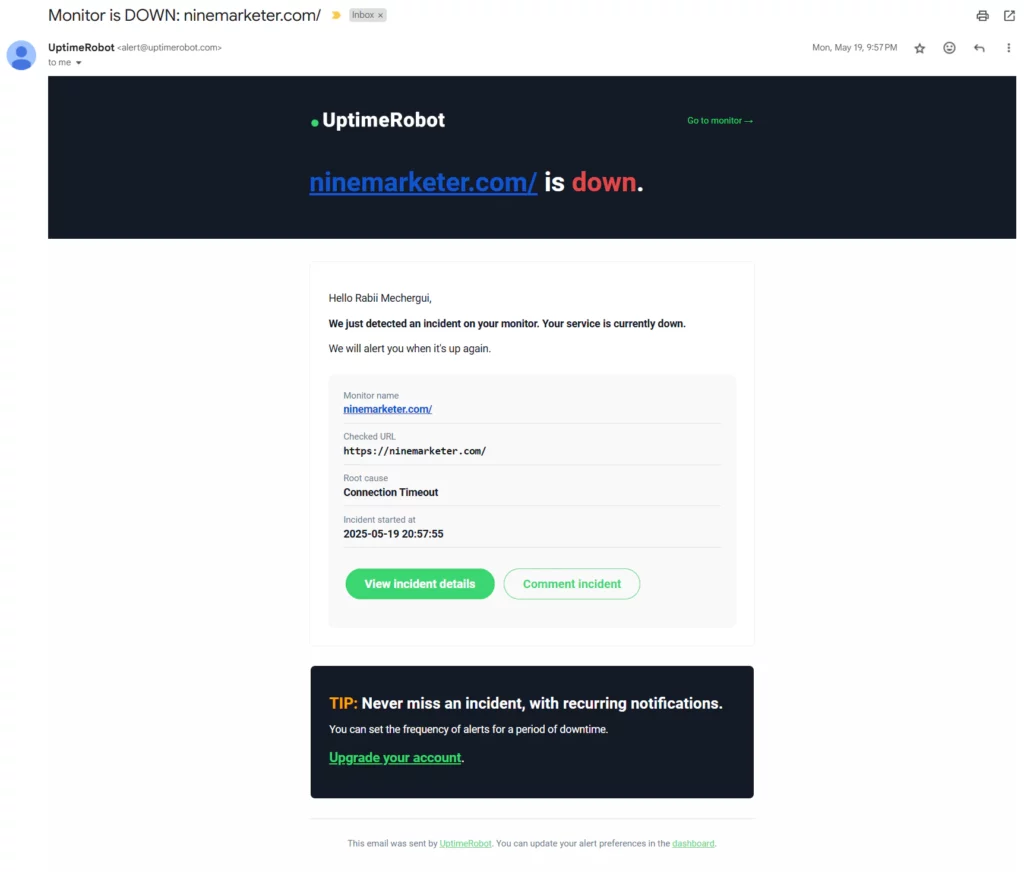
- UptimeRobot (Free): Alerts you if your site goes down. Got a 9:57 PM email during a hosting outage? Worth the panic.
- Calibre App ($49/month): Tracks speed trends and CWV weekly. Spotted a gradual speed decline from 1.8s to 3.1s over 2 months, turns out, my product descriptions had auto-loaded 4K videos.
The Lazy Person’s Speed Monitoring Hack
1. Bookmark This Free Stack:
- PageSpeed Insights + Pingdom + Google Search Console.
2. Set Calendar Reminders:
- “Last Friday of every month: Speed audit + wine.”
3. Use Shopify’s Built-In Reports:
- If you’re on Shopify, checkthese reports that you will find it in Analytics section =
– Interaction to Next Paint (INP): Over Time.
– Cumulative Layout Shift (CLS): Over Time
– Largest Contentful Paint (LCP): Over Time
It shows daily averages and compares you to similar stores.
The One Habit That Boosted My Conversions
I started testing speed after publishing blog posts.
Why?
A 2,000-word guide with 20 unoptimized images once dragged my blog’s load time to 11s.
Now, I:
- Compress images before hitting “Publish.”
- Run a Pingdom test post-launch.
- Update old posts quarterly (found 15 broken videos and 8 dead links in my archives).
Final Takeaway
Speed monitoring isn’t optional it’s hygiene.
Google’s algorithms and human visitors both notice when you slack.
Commit to monthly check-ups, automate alerts, and treat your site like a Tamagotchi: neglect it, and it dies.
P.S. If you’re allergic to spreadsheets, use SpeedVitals.com. It bundles PageSpeed, CWV, and uptime monitoring in one dashboard. Lifesaver.
Common Speed-Killing Mistakes to Avoid
How I Turned My Site from a Dial-Up Disaster to a Speed Demon?
I’ve made every speed mistake in the book.
I’ve stuffed product pages with 4K videos that loaded like a PowerPoint on Windows 95.
ignored mobile users like they were ghosts, and let bloated tracking scripts turn my site into a digital dumpling.
Here’s what not to do unless you enjoy rage-quitting customers and Google side-eyeing your rankings.
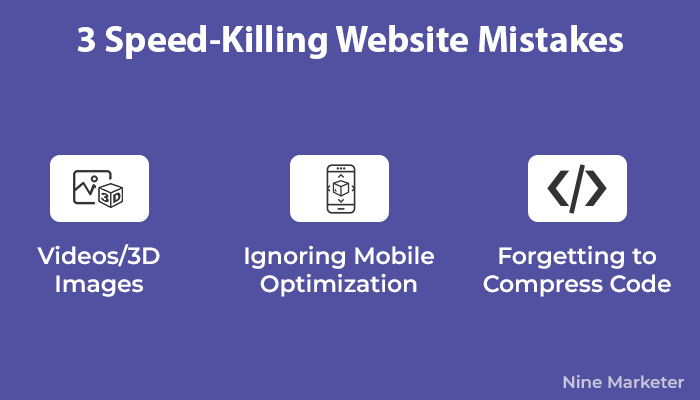
1. Overloading Product Pages with Videos/3D Images
The Mistake: I once added seven product videos to a single page because “customers need to see every angle!”
Spoiler: The page took 14 seconds to load, and my bounce rate go so high.
Turns out, autoplaying videos and 3D spinny-thingies are like throwing an anchor into your load time.
Why It Sucks:
- LCP (Largest Contentful Paint) Penalty: Google docks you if your hero video takes too long to load. Mine dragged LCP to 8 seconds way above the 2.5s “good” threshold.
- Mobile Meltdowns: Those 3D images? They crashed phones older than my gym membership.
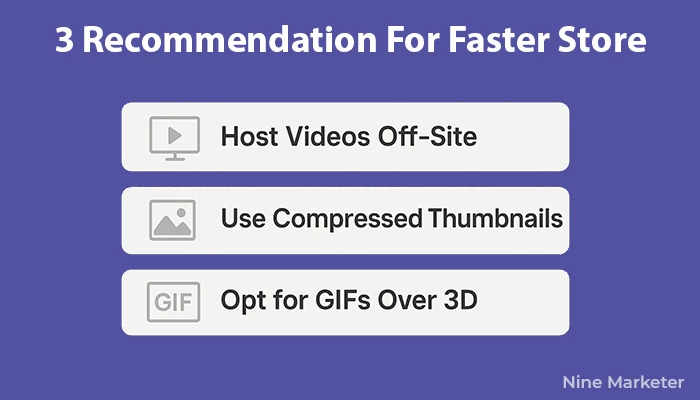
Fix It Without Losing Glam Shots:
- Host Videos Off-Site: Upload to YouTube/Vimeo, then embed. Cut my video load time by 70%.
- Use Compressed Thumbnails: Replace auto-playing videos with static thumbnails (click to play).
- Opt for GIFs Over 3D: A 500KB GIF shows product details faster than a 5MB 3D model.
2. Ignoring Mobile Optimization (“But It Looks Fine on My Laptop!”)
The Mistake: I spent weeks perfecting my desktop site… and mobile looked like a toddler smashed the keyboard.
Buttons overlapped, text overflowed, and my “Add to Cart” CTA hid like Waldo.
My mobile bounce rate?
A cool increased tremendously.
Why It Sucks:
- Google’s Mobile-First Indexing: If your mobile site’s a mess, kiss rankings goodbye.
- 59% of Shoppers Bail if a site takes >3 seconds on mobile.
Fix It Like a Pro:
- Test on Real Devices: I bought a $80 Android burner phone. My “fancy” accordion menu? Unusable. Switched to simple expandable tabs.
- Use AMP Lite: Created stripped-down product pages (no carousels, minimal JS). Mobile load time: 1.4s.
- Tap Google’s Mobile-Friendly Test: It flagged unreadable fonts and tiny buttons. Fixed ’em, conversions jumped 18%.
3. Forgetting to Compress “Invisible” Code (e.g., Tracking Scripts)
The Mistake: I loaded 12 tracking scripts Facebook Pixel, TikTok, Hotjar, you name it. They added 4 seconds to my load time, and I didn’t even notice. Customers did.
Why It Sucks:
- Third-Party Scripts Are Silent Killers: Multiple Third-Party scripts alone added mutiple seconds of loads.
- Memory Leaks: Poorly coded scripts can crash browsers (RIP, my abandoned carts).
Fix It Without Ditching Data:
- Audit Scripts Monthly: Use GTmetrix’s Waterfall Chart. Axed 6 redundant trackers, speed boost: 2.3s.
- Defer Non-Essentials: Tools like WP Rocket push scripts to load after the page renders.
- Use Google Tag Manager: Moved all your Tracking Scripts and Non-Tracking Scripts into Google Tag Manager. Cut load time by 1.5s to 3s.
The “Duh” Moment That Fixed Everything
Last summer, I realized my “lightweight” theme had 47 unused CSS classes and a tracking script from a 2024 promo.
Used Chrome’s Coverage Tool (DevTools > Coverage) to find dead code, deleted it, and shaved 1.8s off my load time.
Felt like Marie Kondo for code.
Final Takeaway
Speed killers are sneaky. They’re the digital equivalent of leaving lights on in empty rooms.
Draining resources, annoying visitors, and costing you cash.
Audit relentlessly, prioritize mobile, and treat every script like a freeloader.
P.S. If you’re lazy, install the Shopify “SpeedBoostr:Google Speed ‑ SEO” app. or WP Rocket for WordPress. They automate 80% of this. (But still… do the audits. Your future self will high-five you.
Conclusion:
Your dropshipping store’s speed isn’t just a number it’s the heartbeat of your business.
By tackling even 3-5 of these fixes, you’ll keep visitors engaged, slash bounce rates, and watch your AOV (average order value) climb.
Ready to test your progress?
Run your site through Google PageSpeed Insights now, and tag us with your before/after results!


